I often get people on Instagram curious or confused as to why I take some of my images quite dark in camera, but the reason is quite simple:
I expose for the highlights!
Now, that might sound like fancy photographer talk to some of you, but no fear, it’s not too complicated!
Our images are made up of highlights (the bright areas), midtones (the middle range of lights), and shadows (the darker areas). The way modern cameras work allows them to capture a large amount of data across the light spectrum – some more than others. However, in most cases, if a light area becomes too light (called “clipped’ or “blown out highlights”) the data in that bright area is lost. Gone forever! Have you ever taken a photo of your dog at sunset, just to look at it later and realise the sky is a white blob, but the dog looks fine? That’s because the camera (or phone) looked at the scene and made decisions about how light or dark to make the photo.
In general, cameras and editing programs can recover data (information) from the darker parts of the image much easier than if the highlights are blown out (in that case there’s no information at all, just a white blob!). Some cameras can record more of this information than others, so it’s worth getting to know the limits of your camera to see just how far you can go.
Examples of Bokeh
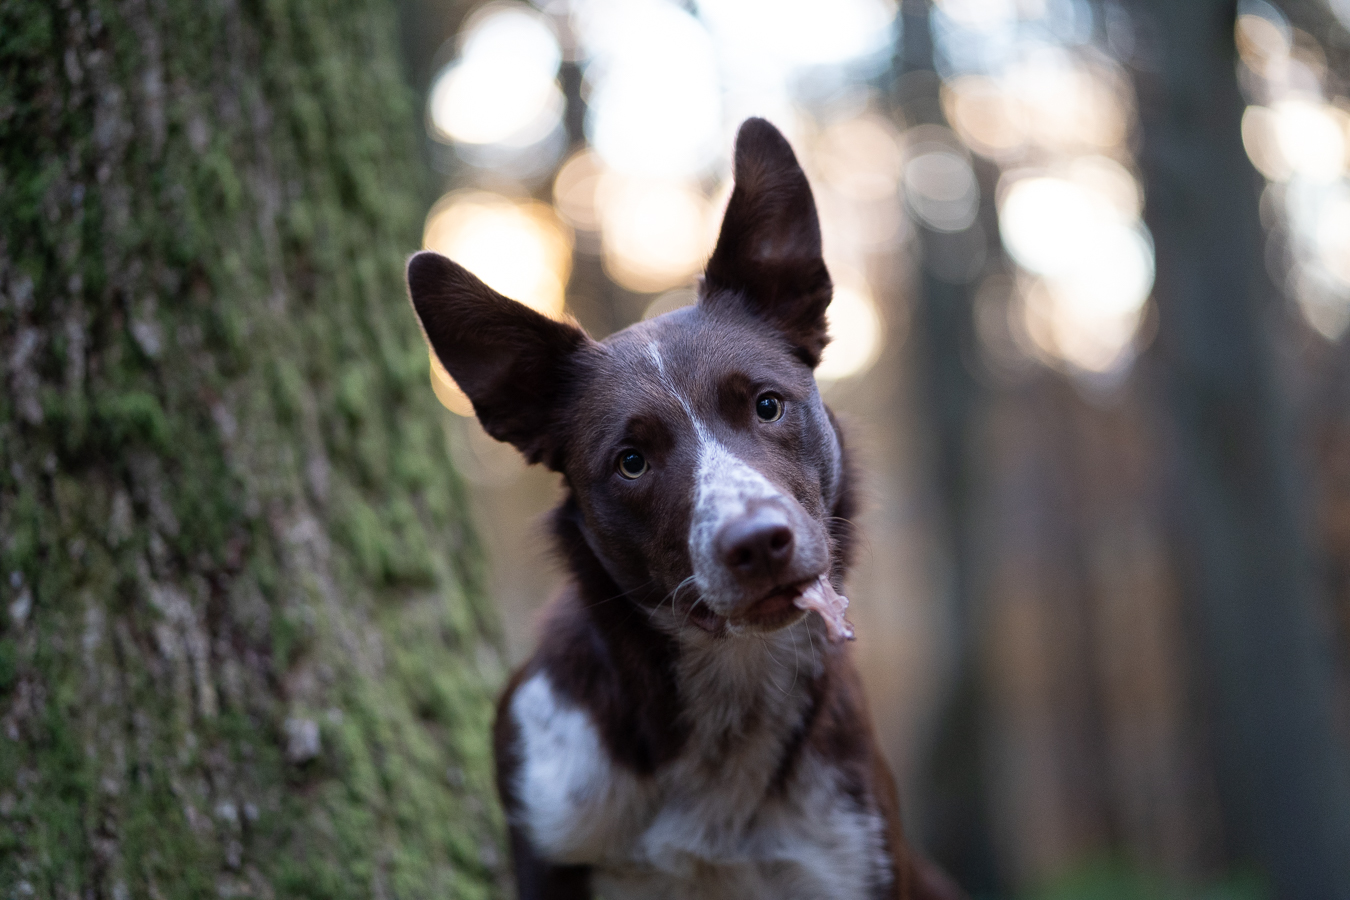
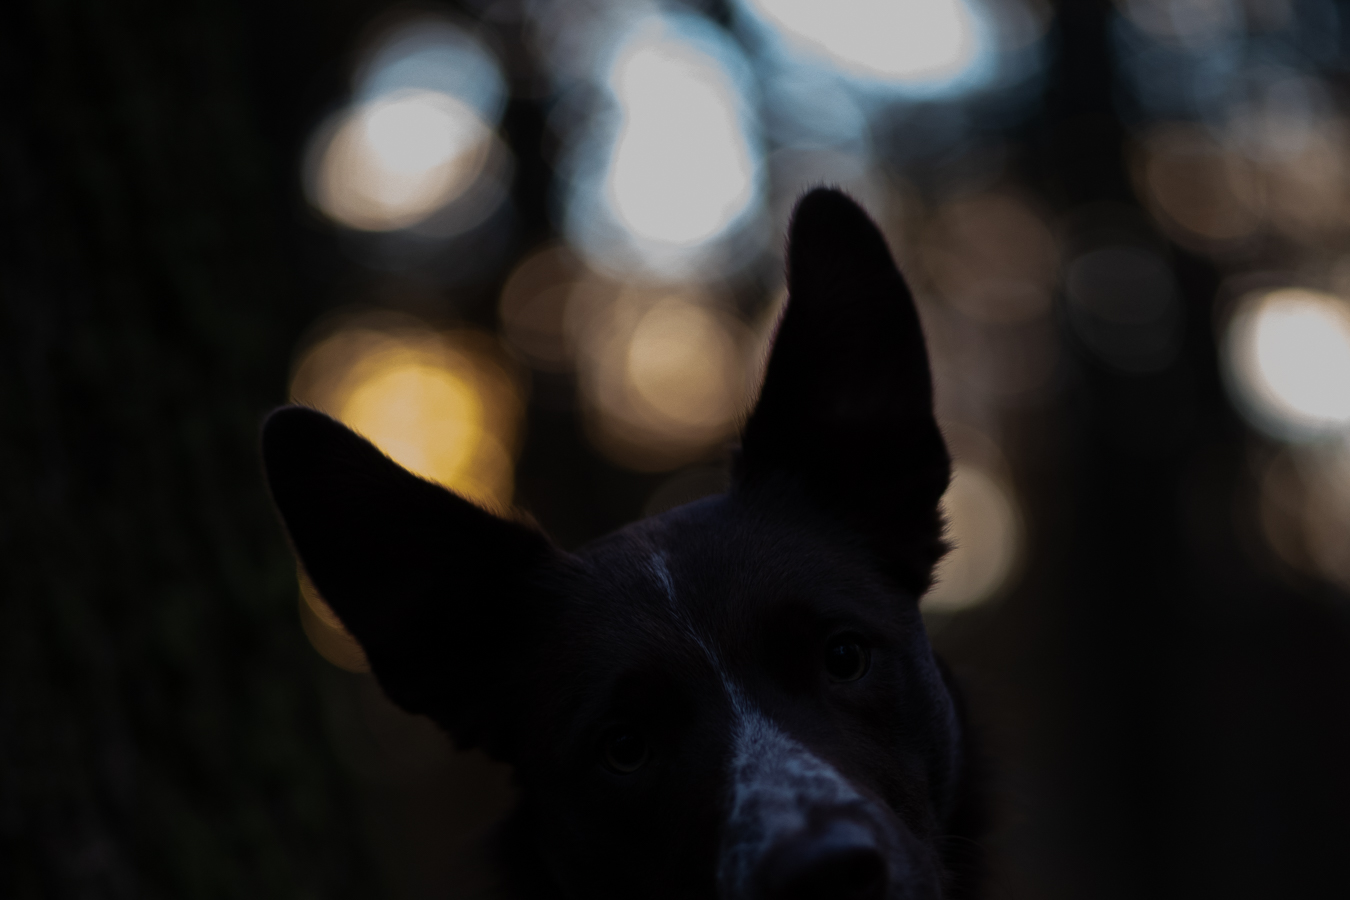
You can see the detail here in the bokeh (the light spots) in the background. If I had made my overall image lighter when I was taking it, these would have come out as ugly white blobs.
Above are two images, one is completely unedited, and even in this lighter image, Journey is still probably slightly too dark… and the bokeh in the background is quite blown out. The image on the left is after I have reduced the exposure by a LOT, and zoomed in on the bokeh, to show you how it is “blown out”.
Unedited/Straight out of Camera
Edited. Note the Bokeh.
Compare that to this image above, which is exactly the same, but was taken darker (left image) and when edited, there is plenty of detail in that bokeh, making sure it’s nice and soft.
You might be thinking: Alright, sure, but I’m not that professional. I don’t really care about bokeh and backlight and whatever.
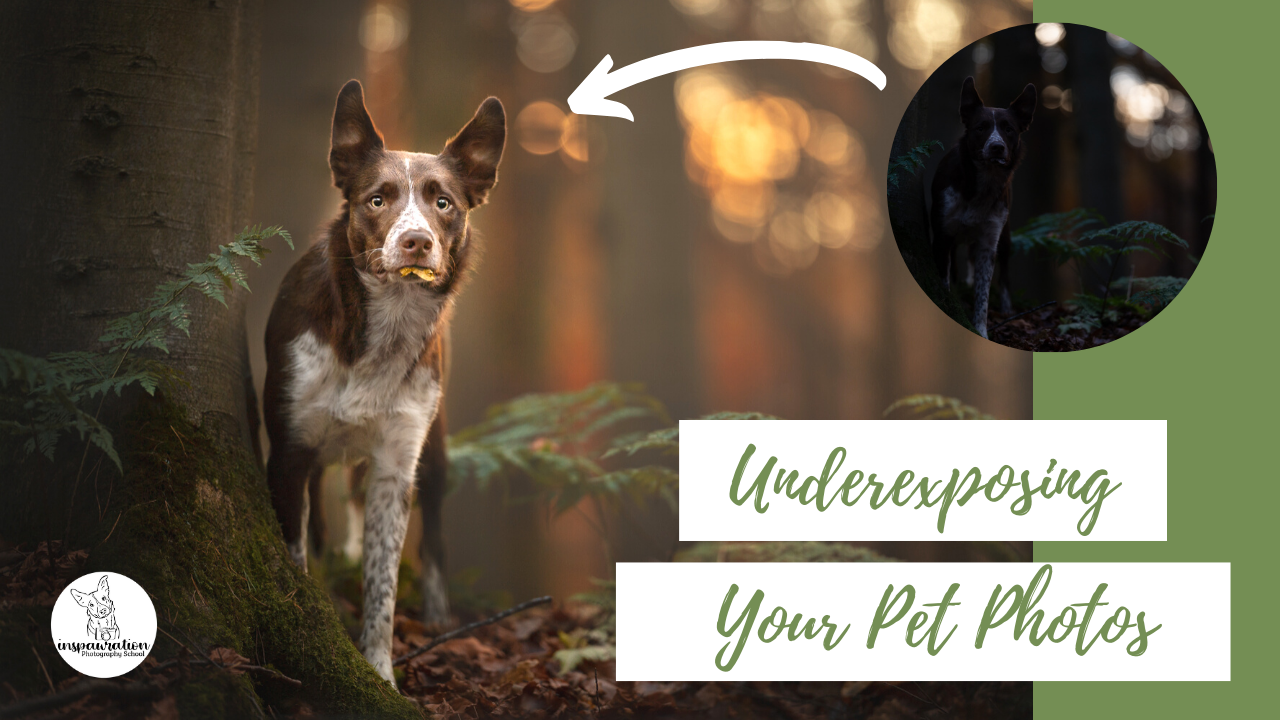
Why Else Should I Expose for Highlights?
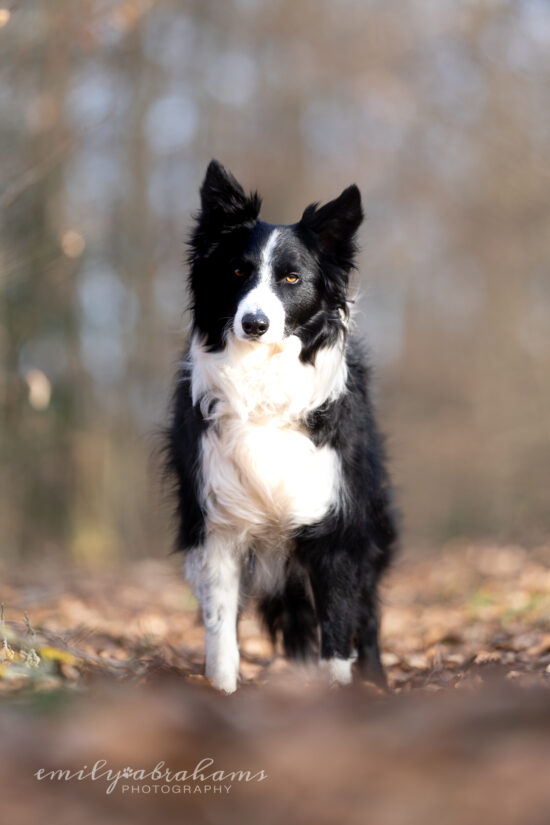
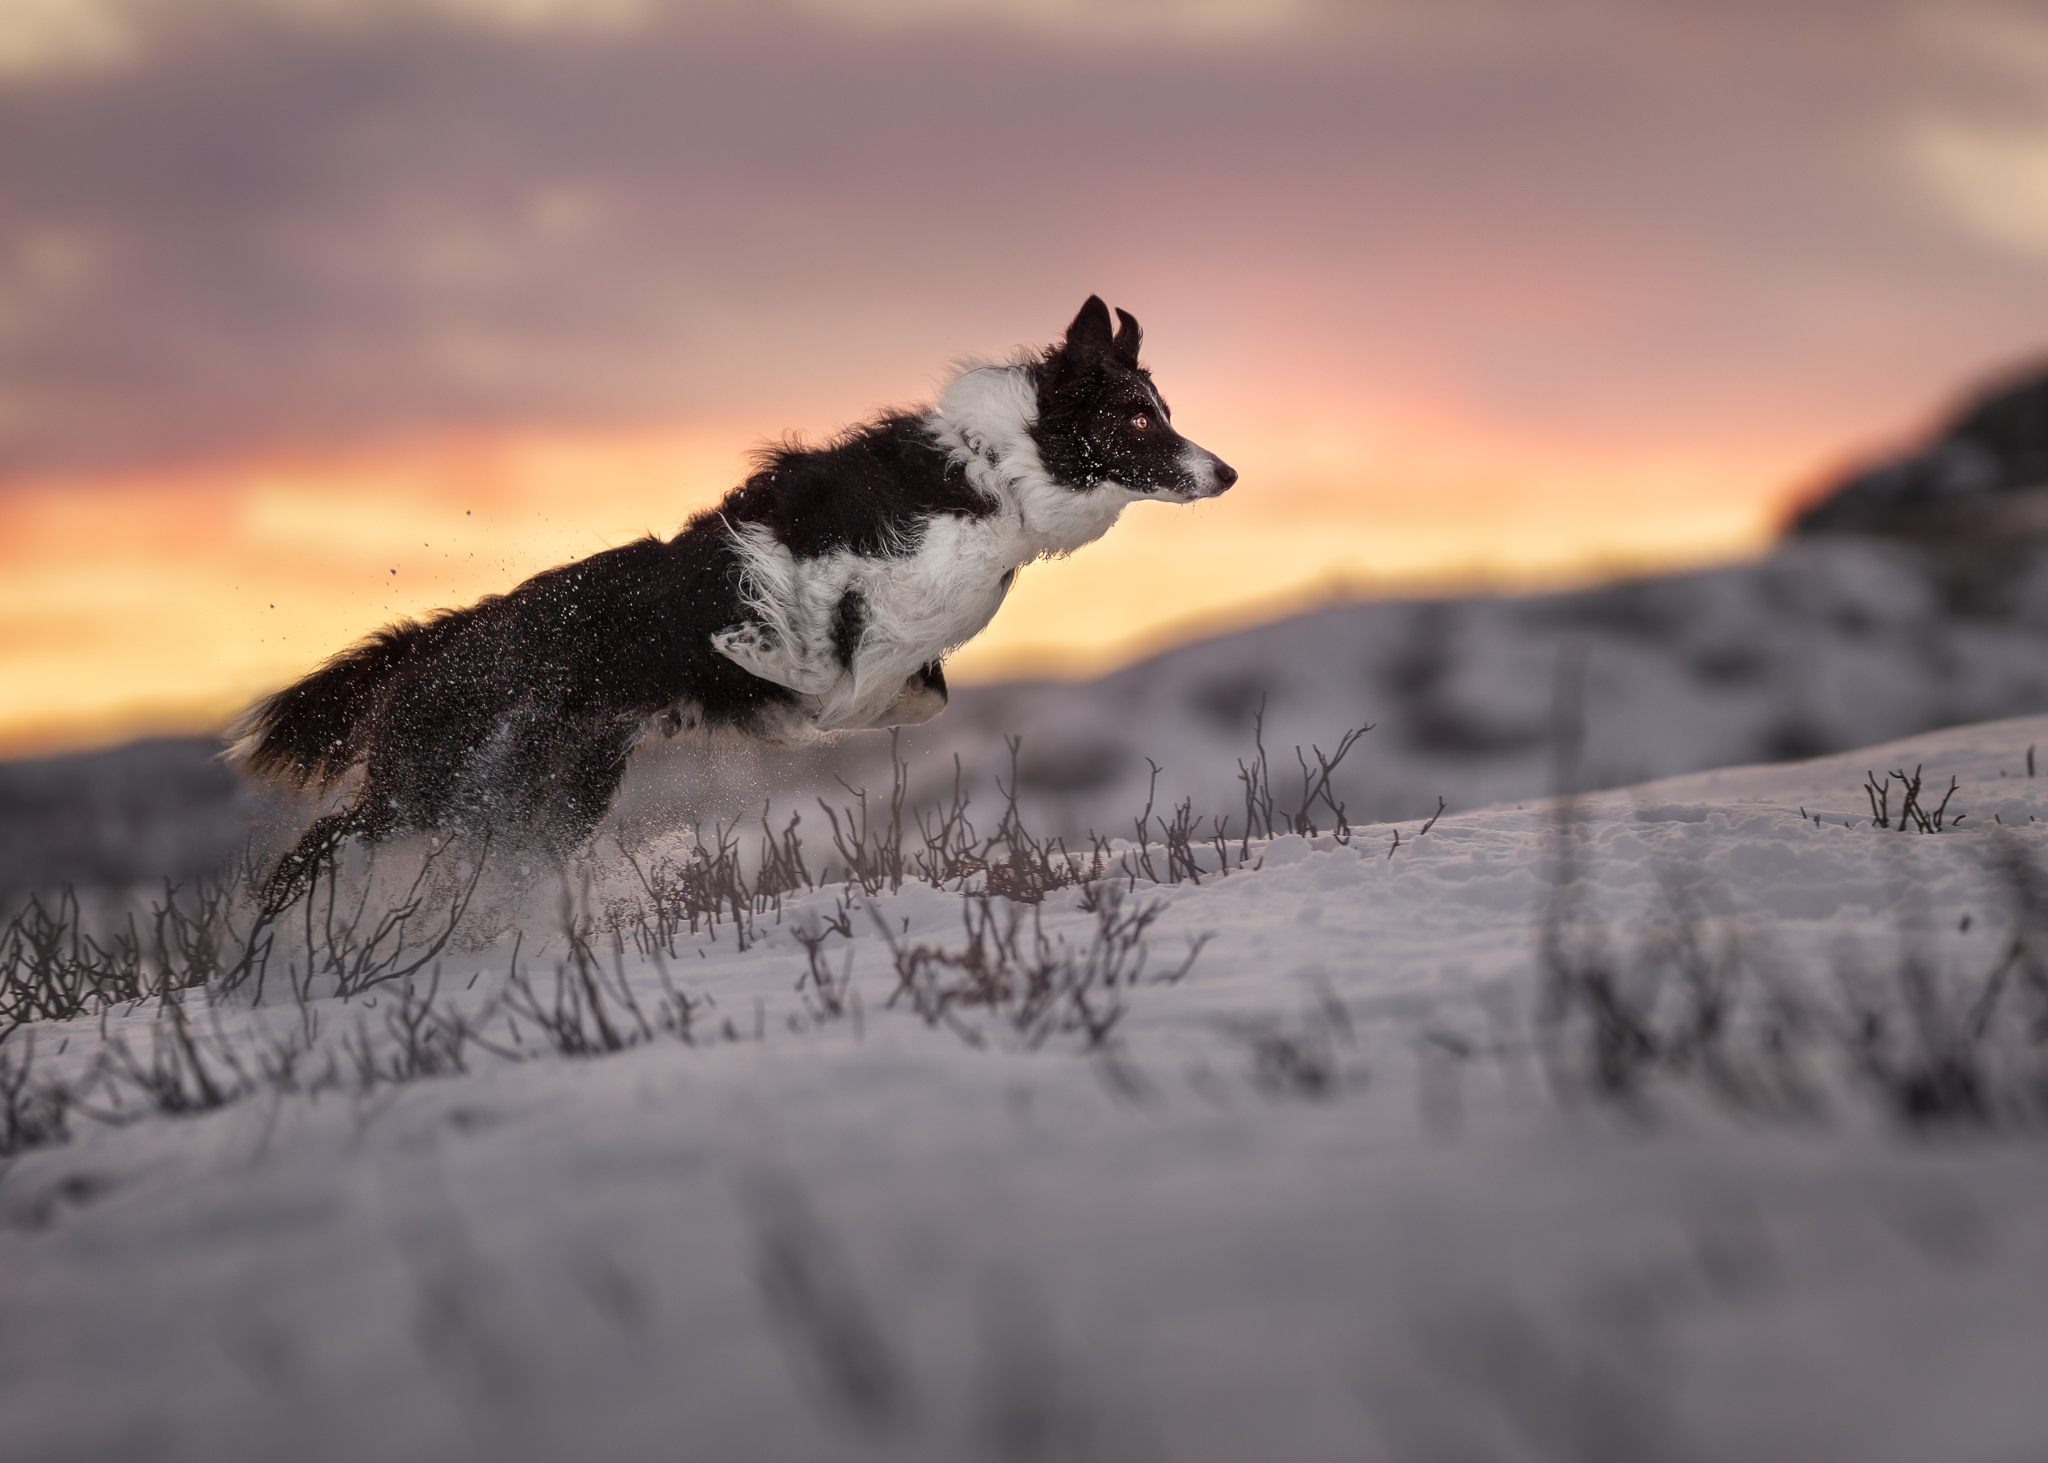
This is something to keep in mind for any photography which involves the sky (sunsets, clouds, etc) as the dog will usually be darker than the sky, and also for any dogs with white on their face or chest. If the light is hitting their chest, it’s very easy for those highlights to get blown out, and instead of fur, they have a blob.
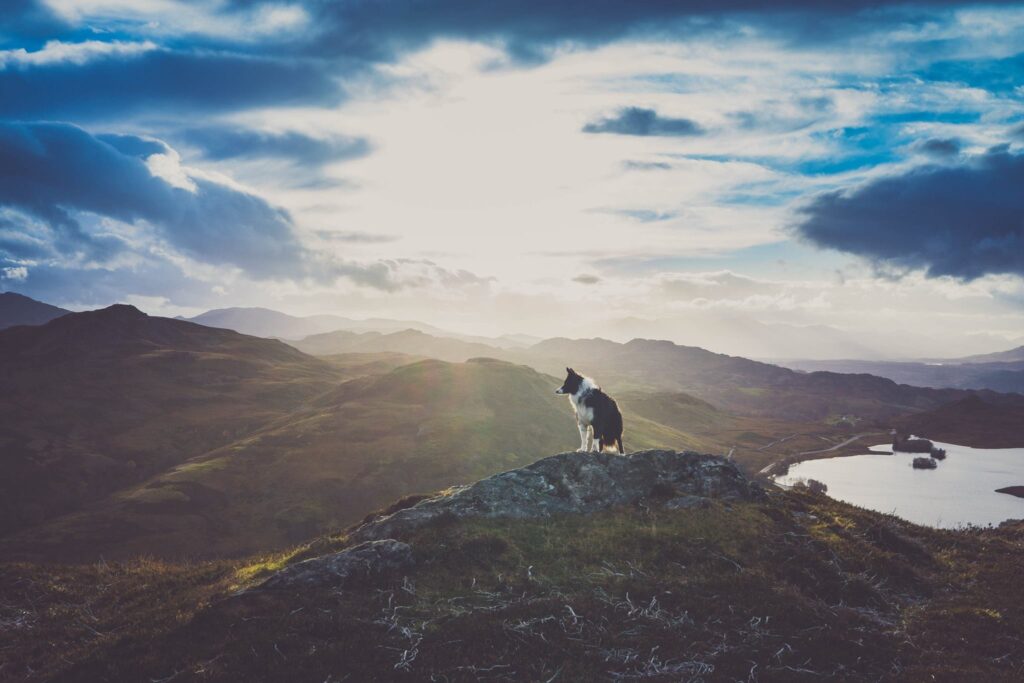
I deliberately over-exposed Loki in this case. You can see the blown out highlights on his chest and neck, and his white snout. There will be no information left in that area, even if I were to do some editing to try and fix it. He will forever be a white blob ☹️
This image is 2 years old now, so don’t judge me for the editing or exposure, but it makes my point quite well. The series of images I took on this afternoon are INSANE. The light, the scenery, the way Loki was posing, I am so in love with all of it… except… I didn’t know about exposing for the sky. So that big white blob in the middle? I can’t fix that. There were clouds there, but the information about how they looked is gone. So instead of a dramatic cloud-filled sky with light-rays and shape and texture, it is… this. And the image is fine… but it could have been better, especially now that I know better.
What About Noise/Grain?!
Only ISO200, but it had to be quite underexposed due to the bright sky and wanting to preserve the texture and colours within it. So there is definitely some noise/grain on Loki, but that can be minimized or fixed a bit. A blown-out sky can't be.
One thing I get asked a lot when people see how dark my images (sometimes) are, is how I achieve it without getting noise or grain on the image.
A lot of it has to do with both my camera, which has great “dynamic range” so can capture a lot of details even when the image is dark, and also what ISO I shoot at. The first image in this post was ISO 320, which gives me plenty of room to fix the exposure on the dog later. If I was shooting at ISO 1000 or more, I would have much, much less flexibility before I was having issues with noise.
It can also depend on how much you underexpose. The image above was taken at ISO200, but because Loki is a black dog, and was underexposed to the point of being nearly solid black, I had to raise (or fill) shadows a lot to bring detail back into his fur. This resulted in a lot of noise. Luckily I could fix it through some editing and denoise programs. If I had blown out the sky by having a lower ISO and a brighter image, I couldn’t have fixed that except to replace the whole sky or do some very complicated (and not very believable) cloning and filling in that white space.
Some Quick Questions
Should I always underexpose my images then?
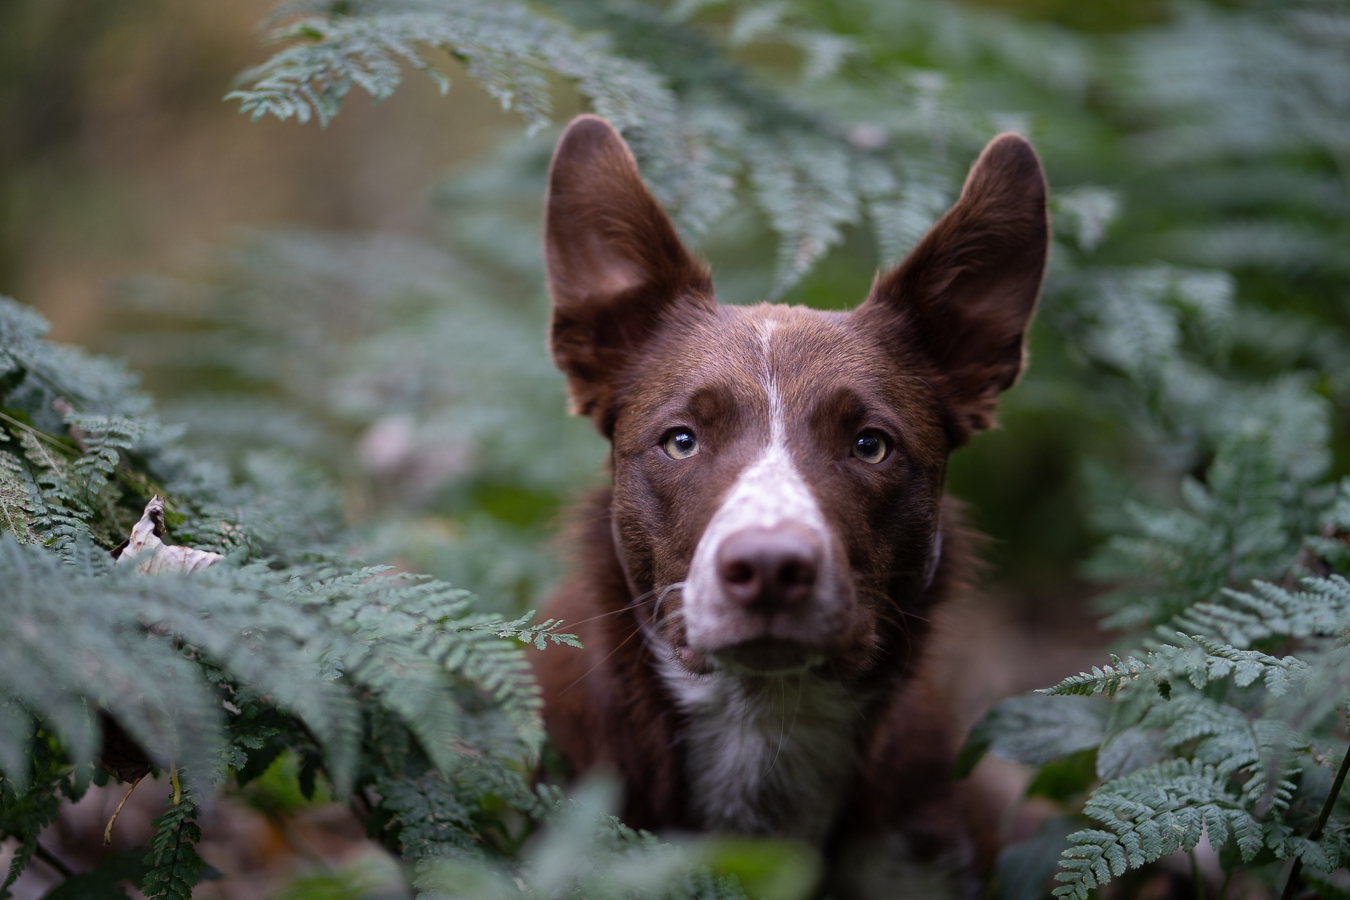
No. Only when you need to preserve information in the highlights. For a dog like Journey, with no backlight (just a normal photo in the ferns) I don’t have to underexpose quite as much because his stripe isn’t even pure white. You can see in the image below that the exposure of the before picture is pretty much “normal”.
Before/straight out of camera
After/edited
I want to make a dark mood in my images so I’ll take them all underexposed?
This isn’t the best way to get a dark mood. It’s much easier to add darkness than it is to lighten things up. You won’t lose image quality if you darken your images, but you will if you have to spend a lot of time and effort lightening parts of them up. If you have a look at the image above you’ll see the ferns are actually a lot darker once edited than they were in the “before” image. I didn’t start with a very dark photo, I edited it that way.
My camera can’t do this.
Some cameras will be better at this than others. You have to experiment to figure out the limits of your camera, to know what ISO you can use and still lighten the image in editing without it looking like a disaster. You won’t figure this out any other way but to pick up your camera, get out there, and do it.
How can I tell if my highlights are blown out while I’m shooting?
Most cameras have 3 different options.
1. Zebra stripes. These show up as stripey lines over clipped areas when you preview the image. I don’t use them.
2. “Highlight warning” – when looking at images you’ve already taken, an area of black will flash on and off to warn you that those areas have been clipped and you might want to change your settings going forward. Also not my absolute favourite method.
3. Histogram. You can have the histogram on screen while you shoot (with some cameras) so that as you adjust your settings you can see if there’s any spikes toward the right hand side (Highlights end) and fix it accordingly. I’ll do another blog post on histograms in the future!
We use cookies on our website to give you the most relevant experience by remembering your preferences and repeat visits. By clicking “Accept All”, you consent to the use of ALL the cookies. However, you may visit "Cookie Settings" to provide a controlled consent.
This website uses cookies to improve your experience while you navigate through the website. Out of these, the cookies that are categorized as necessary are stored on your browser as they are essential for the working of basic functionalities of the website. We also use third-party cookies that help us analyze and understand how you use this website. These cookies will be stored in your browser only with your consent. You also have the option to opt-out of these cookies. But opting out of some of these cookies may affect your browsing experience.
Necessary cookies are absolutely essential for the website to function properly. These cookies ensure basic functionalities and security features of the website, anonymously.
Cookie
Duration
Description
cookielawinfo-checkbox-analytics
11 months
This cookie is set by GDPR Cookie Consent plugin. The cookie is used to store the user consent for the cookies in the category "Analytics".
cookielawinfo-checkbox-functional
11 months
The cookie is set by GDPR cookie consent to record the user consent for the cookies in the category "Functional".
cookielawinfo-checkbox-necessary
11 months
This cookie is set by GDPR Cookie Consent plugin. The cookies is used to store the user consent for the cookies in the category "Necessary".
cookielawinfo-checkbox-others
11 months
This cookie is set by GDPR Cookie Consent plugin. The cookie is used to store the user consent for the cookies in the category "Other.
cookielawinfo-checkbox-performance
11 months
This cookie is set by GDPR Cookie Consent plugin. The cookie is used to store the user consent for the cookies in the category "Performance".
viewed_cookie_policy
11 months
The cookie is set by the GDPR Cookie Consent plugin and is used to store whether or not user has consented to the use of cookies. It does not store any personal data.
Functional cookies help to perform certain functionalities like sharing the content of the website on social media platforms, collect feedbacks, and other third-party features.
Performance cookies are used to understand and analyze the key performance indexes of the website which helps in delivering a better user experience for the visitors.
Analytical cookies are used to understand how visitors interact with the website. These cookies help provide information on metrics the number of visitors, bounce rate, traffic source, etc.
Advertisement cookies are used to provide visitors with relevant ads and marketing campaigns. These cookies track visitors across websites and collect information to provide customized ads.
By registering for this website, you agree to be contacted occasionally by email about special offers, events and updates. You are welcome to unsubscribe at any time