
Your Result:
You may need to give your dog space
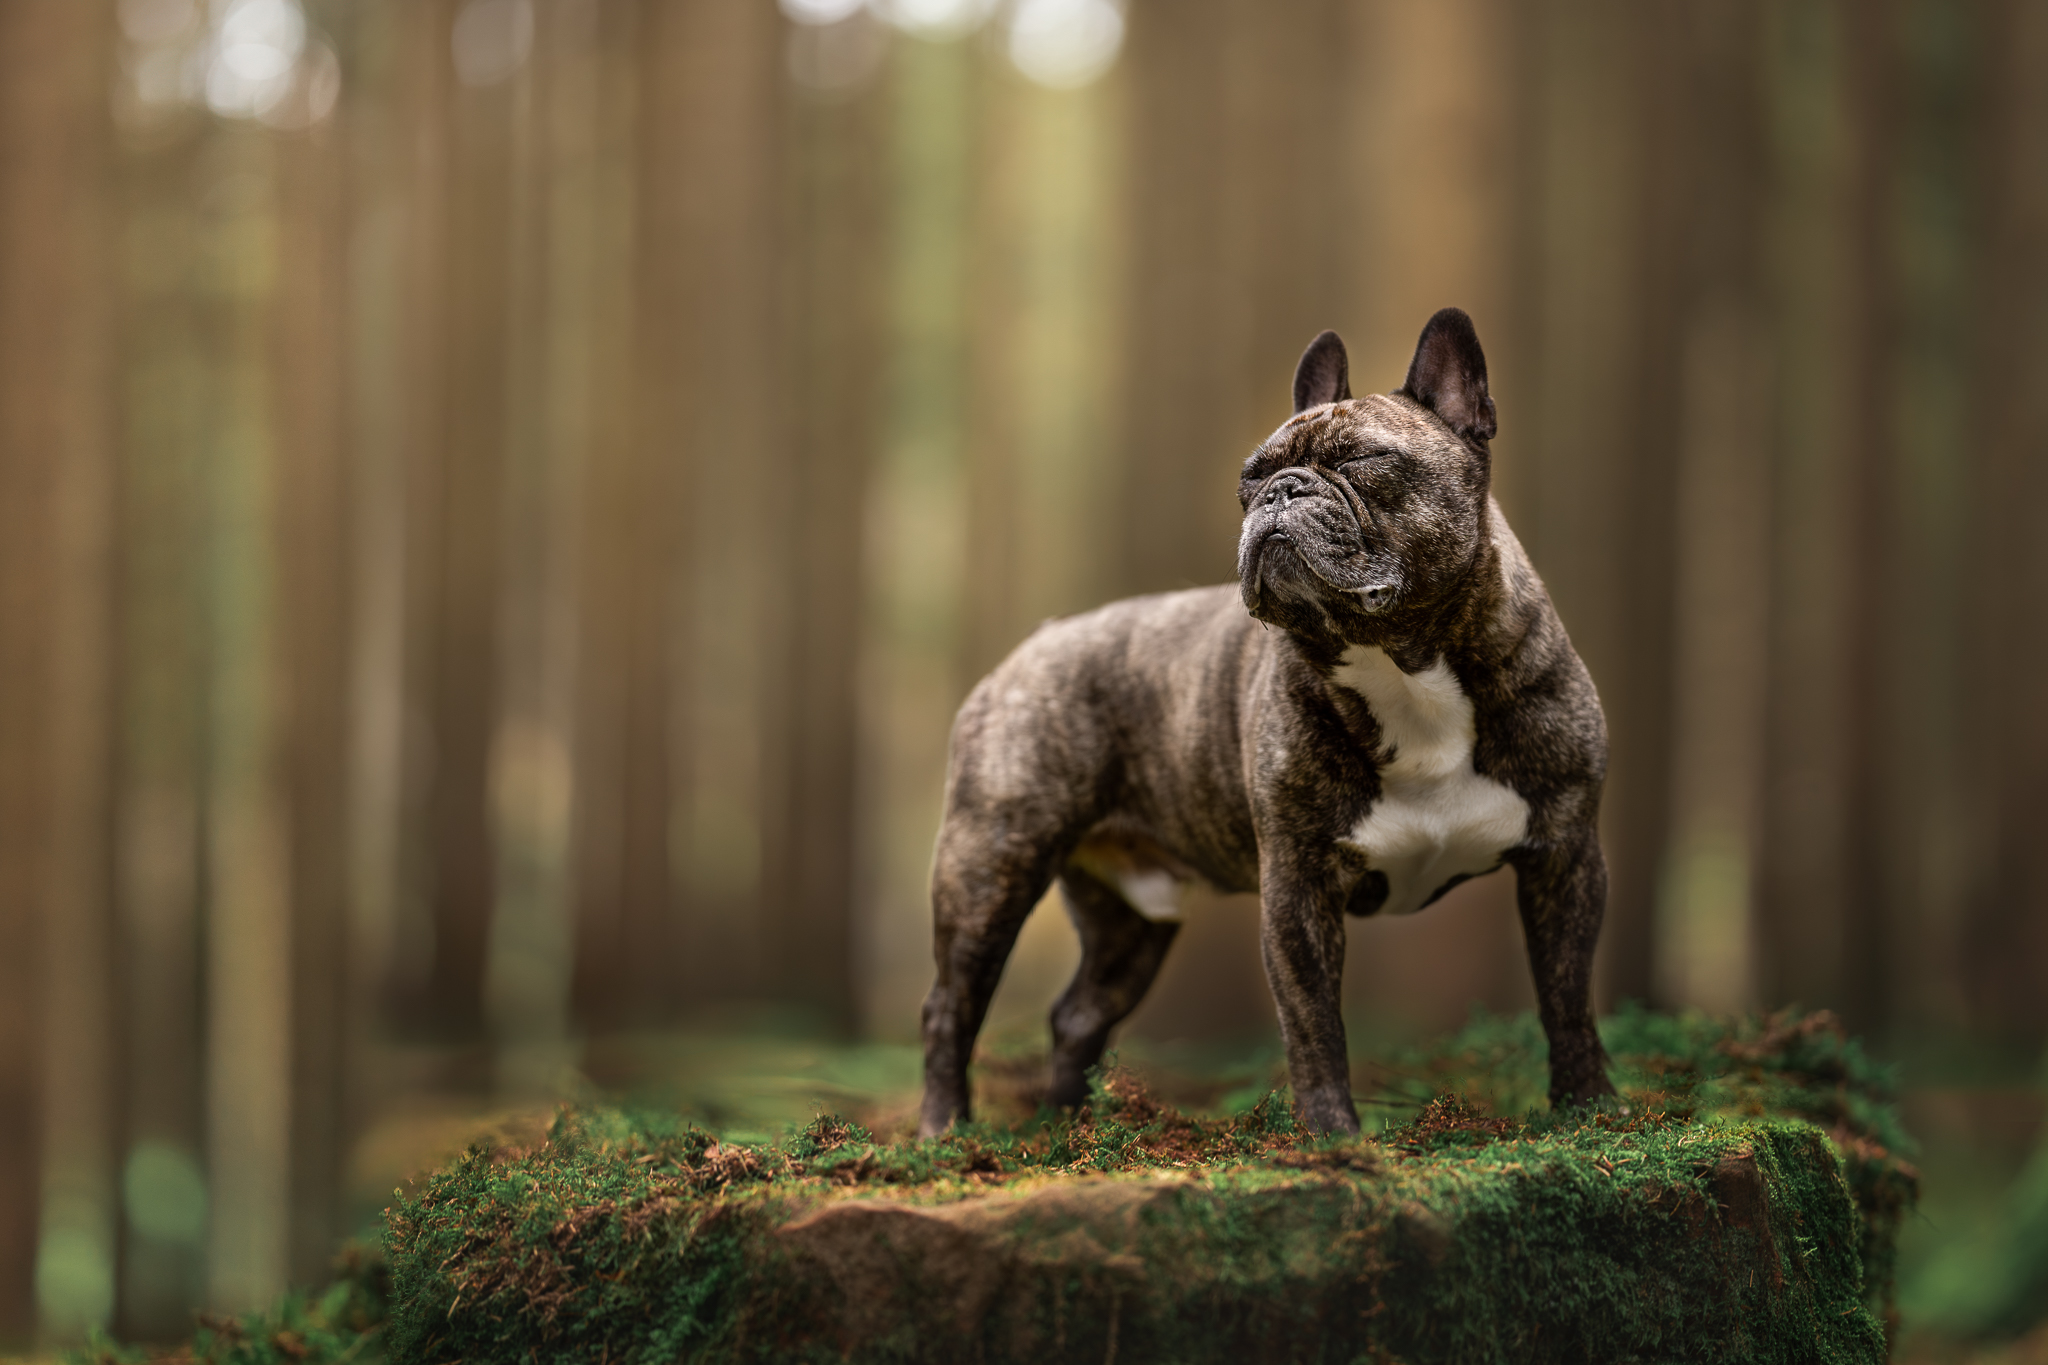
This one is actually two things that both come down to the same idea: giving your dog space to exist comfortably in the frame.
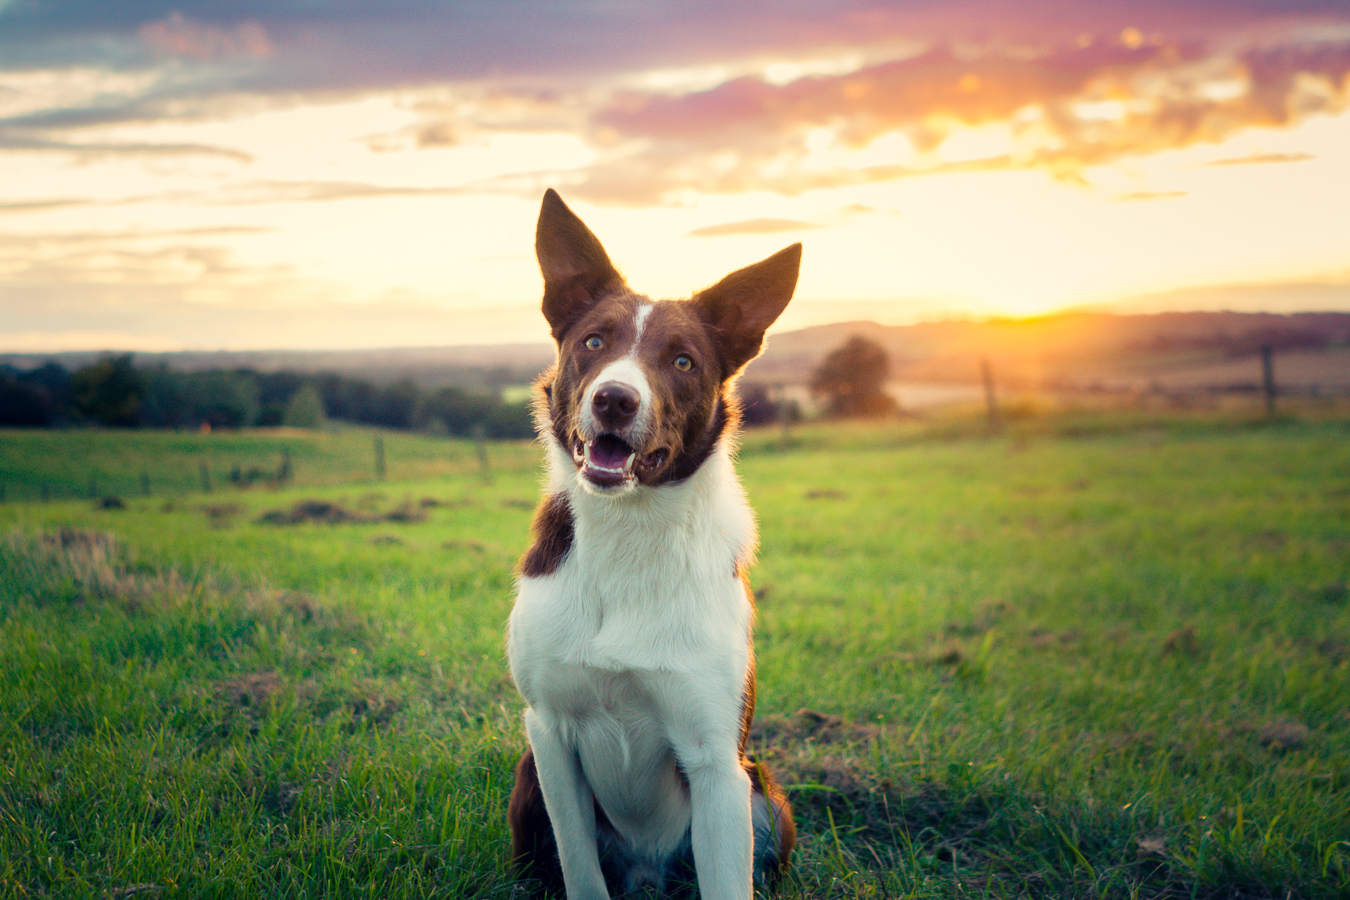
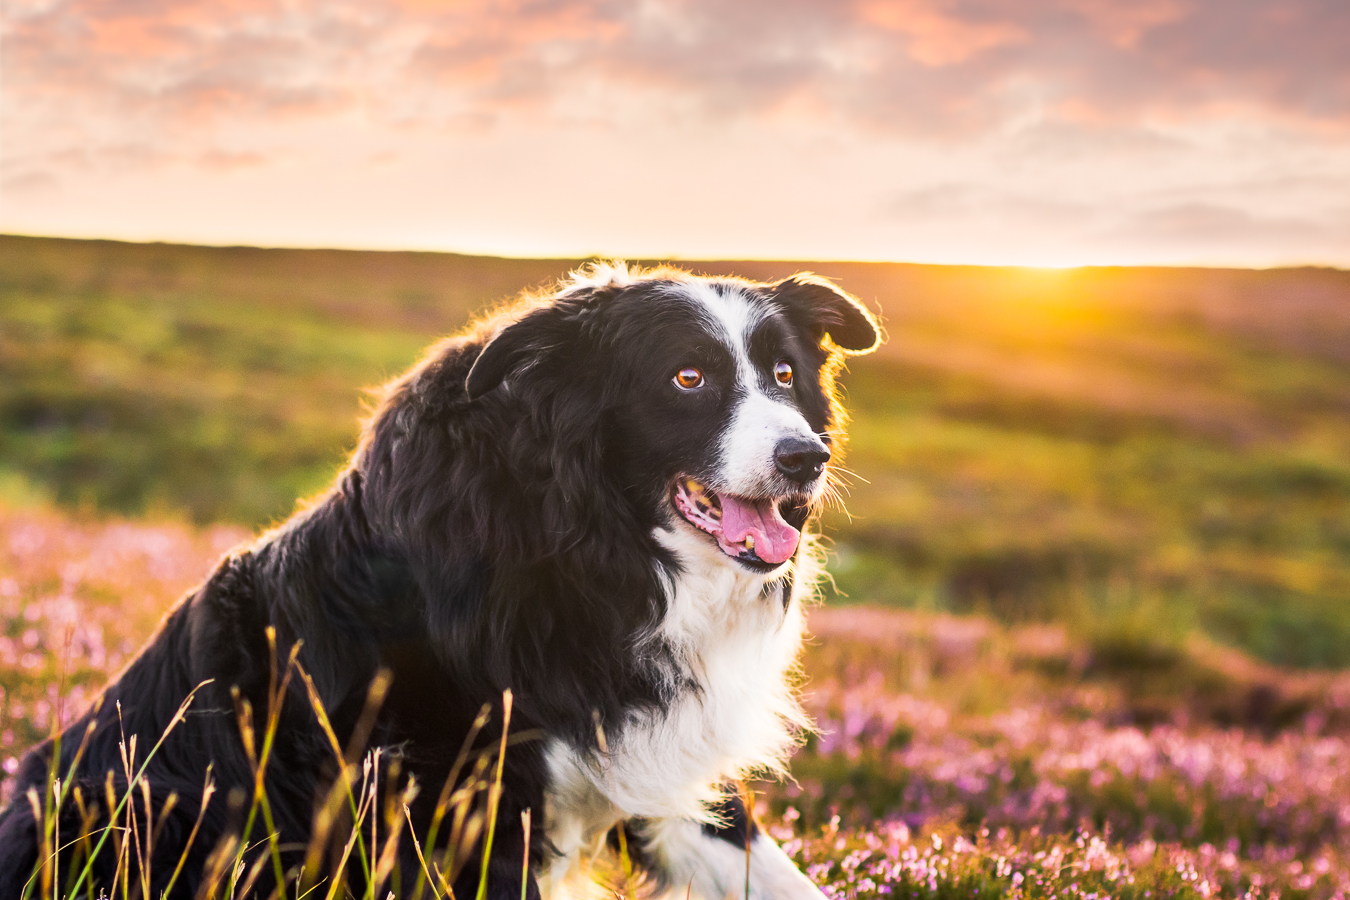
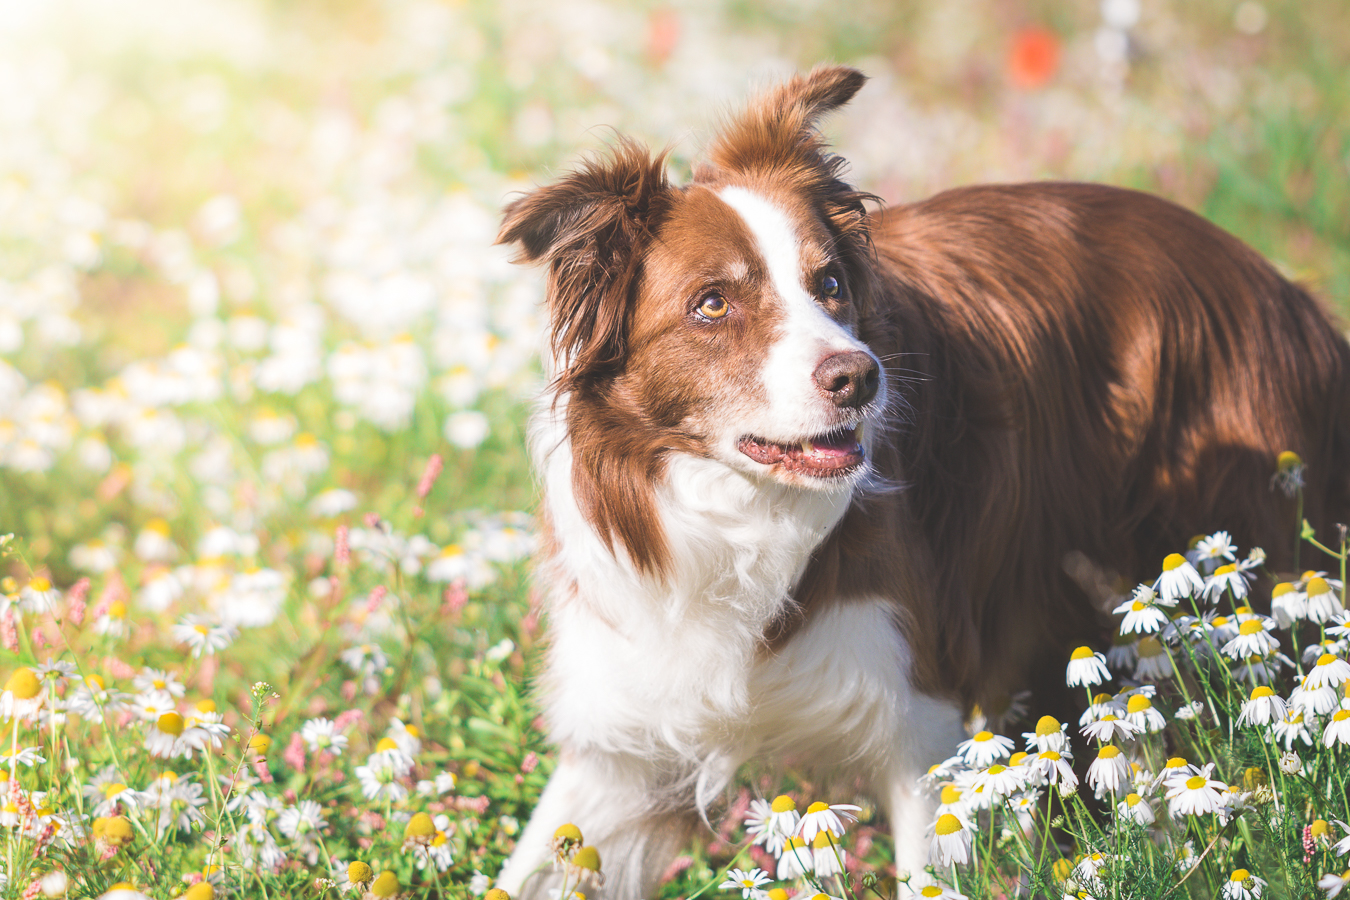
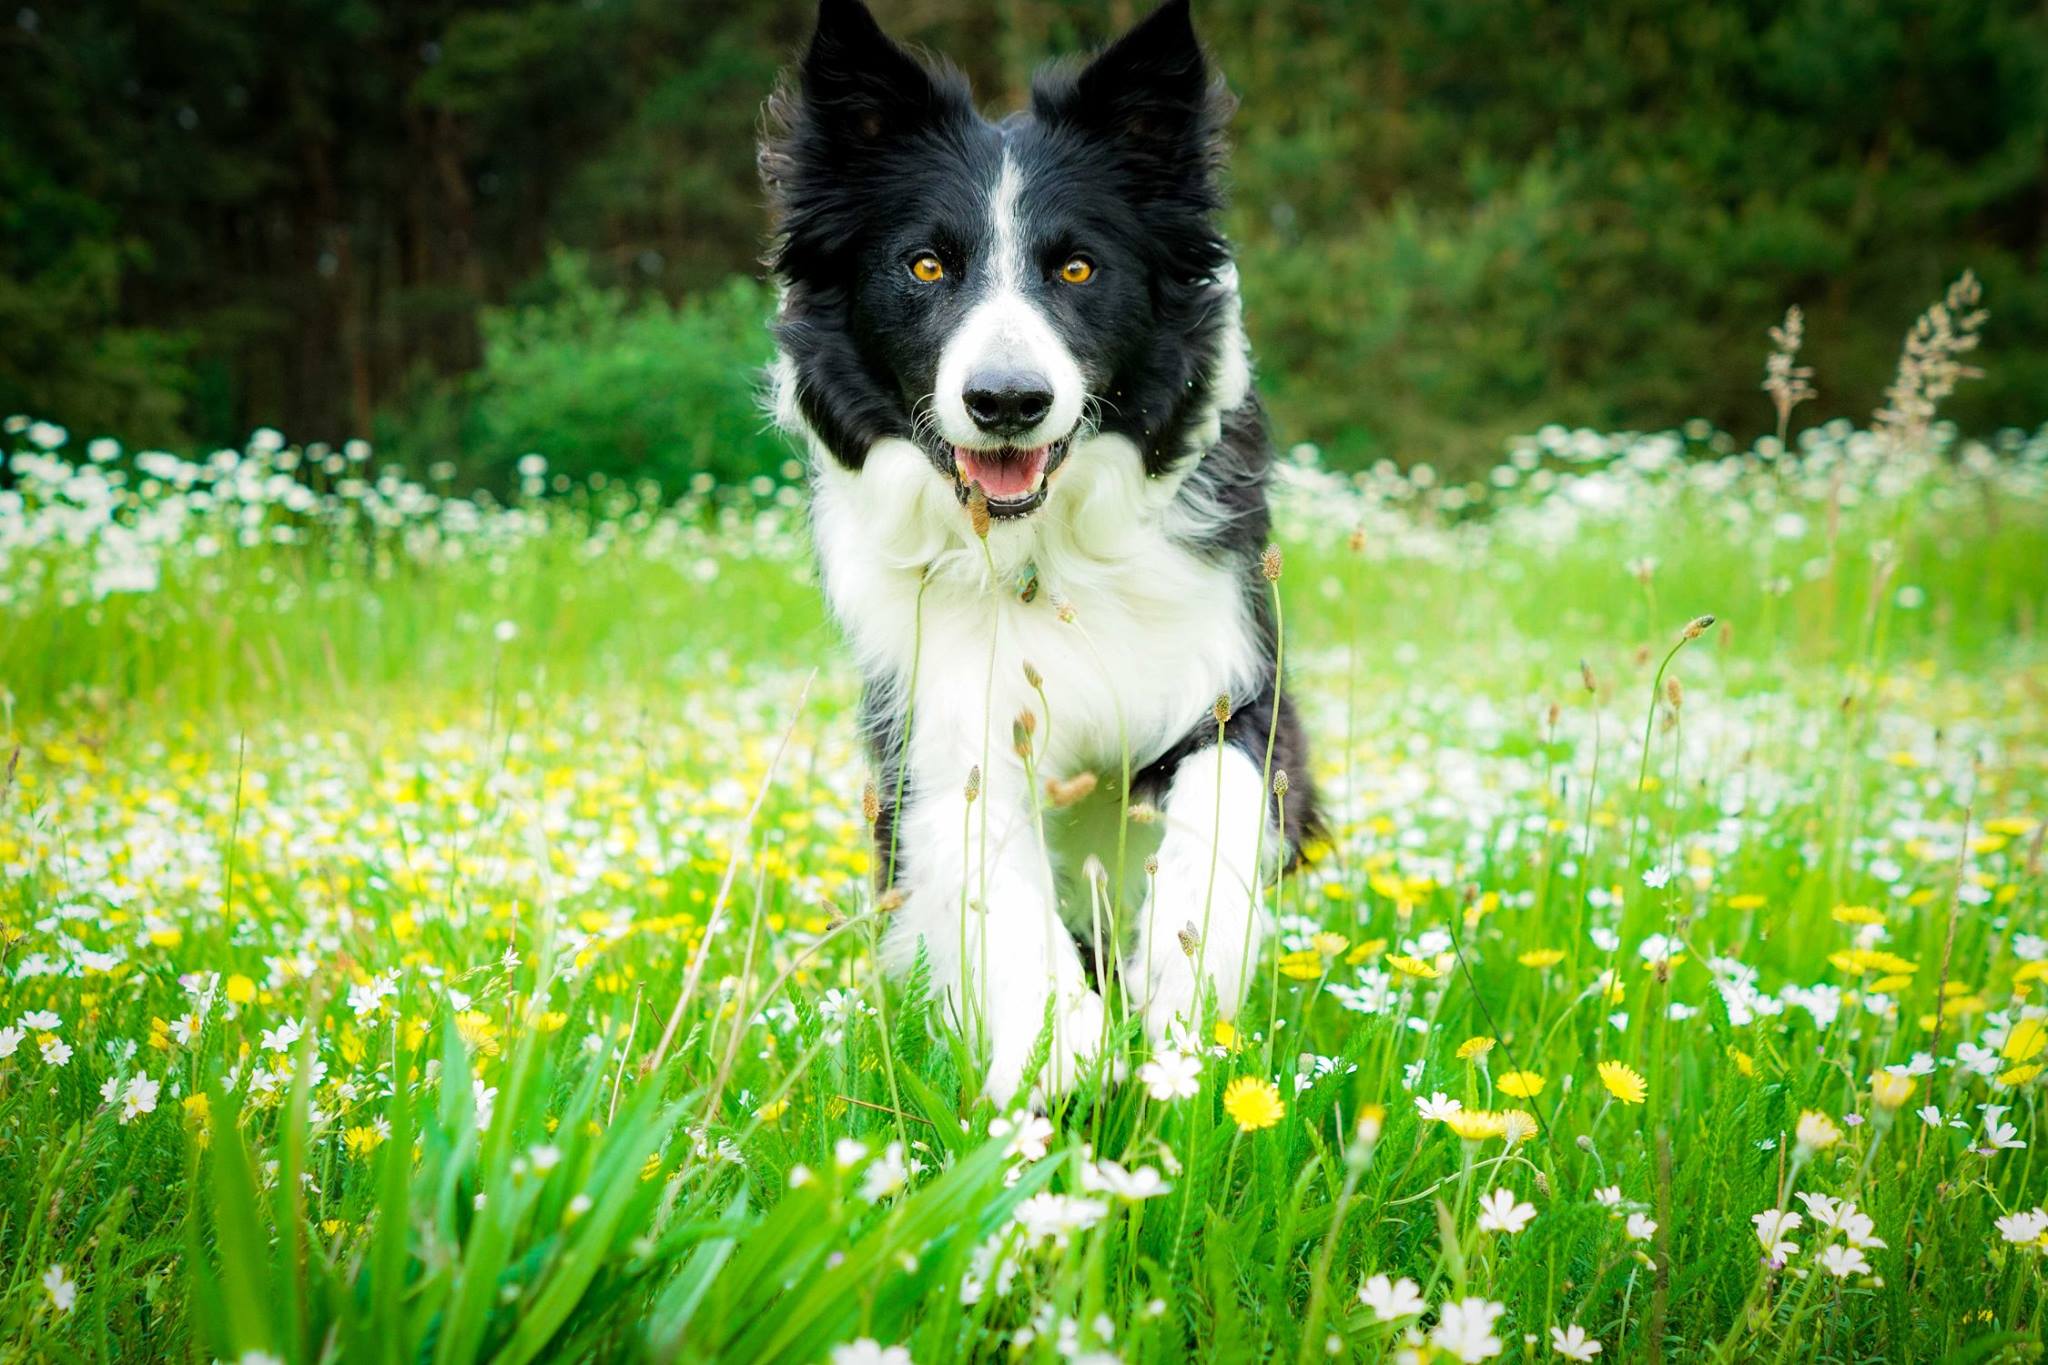
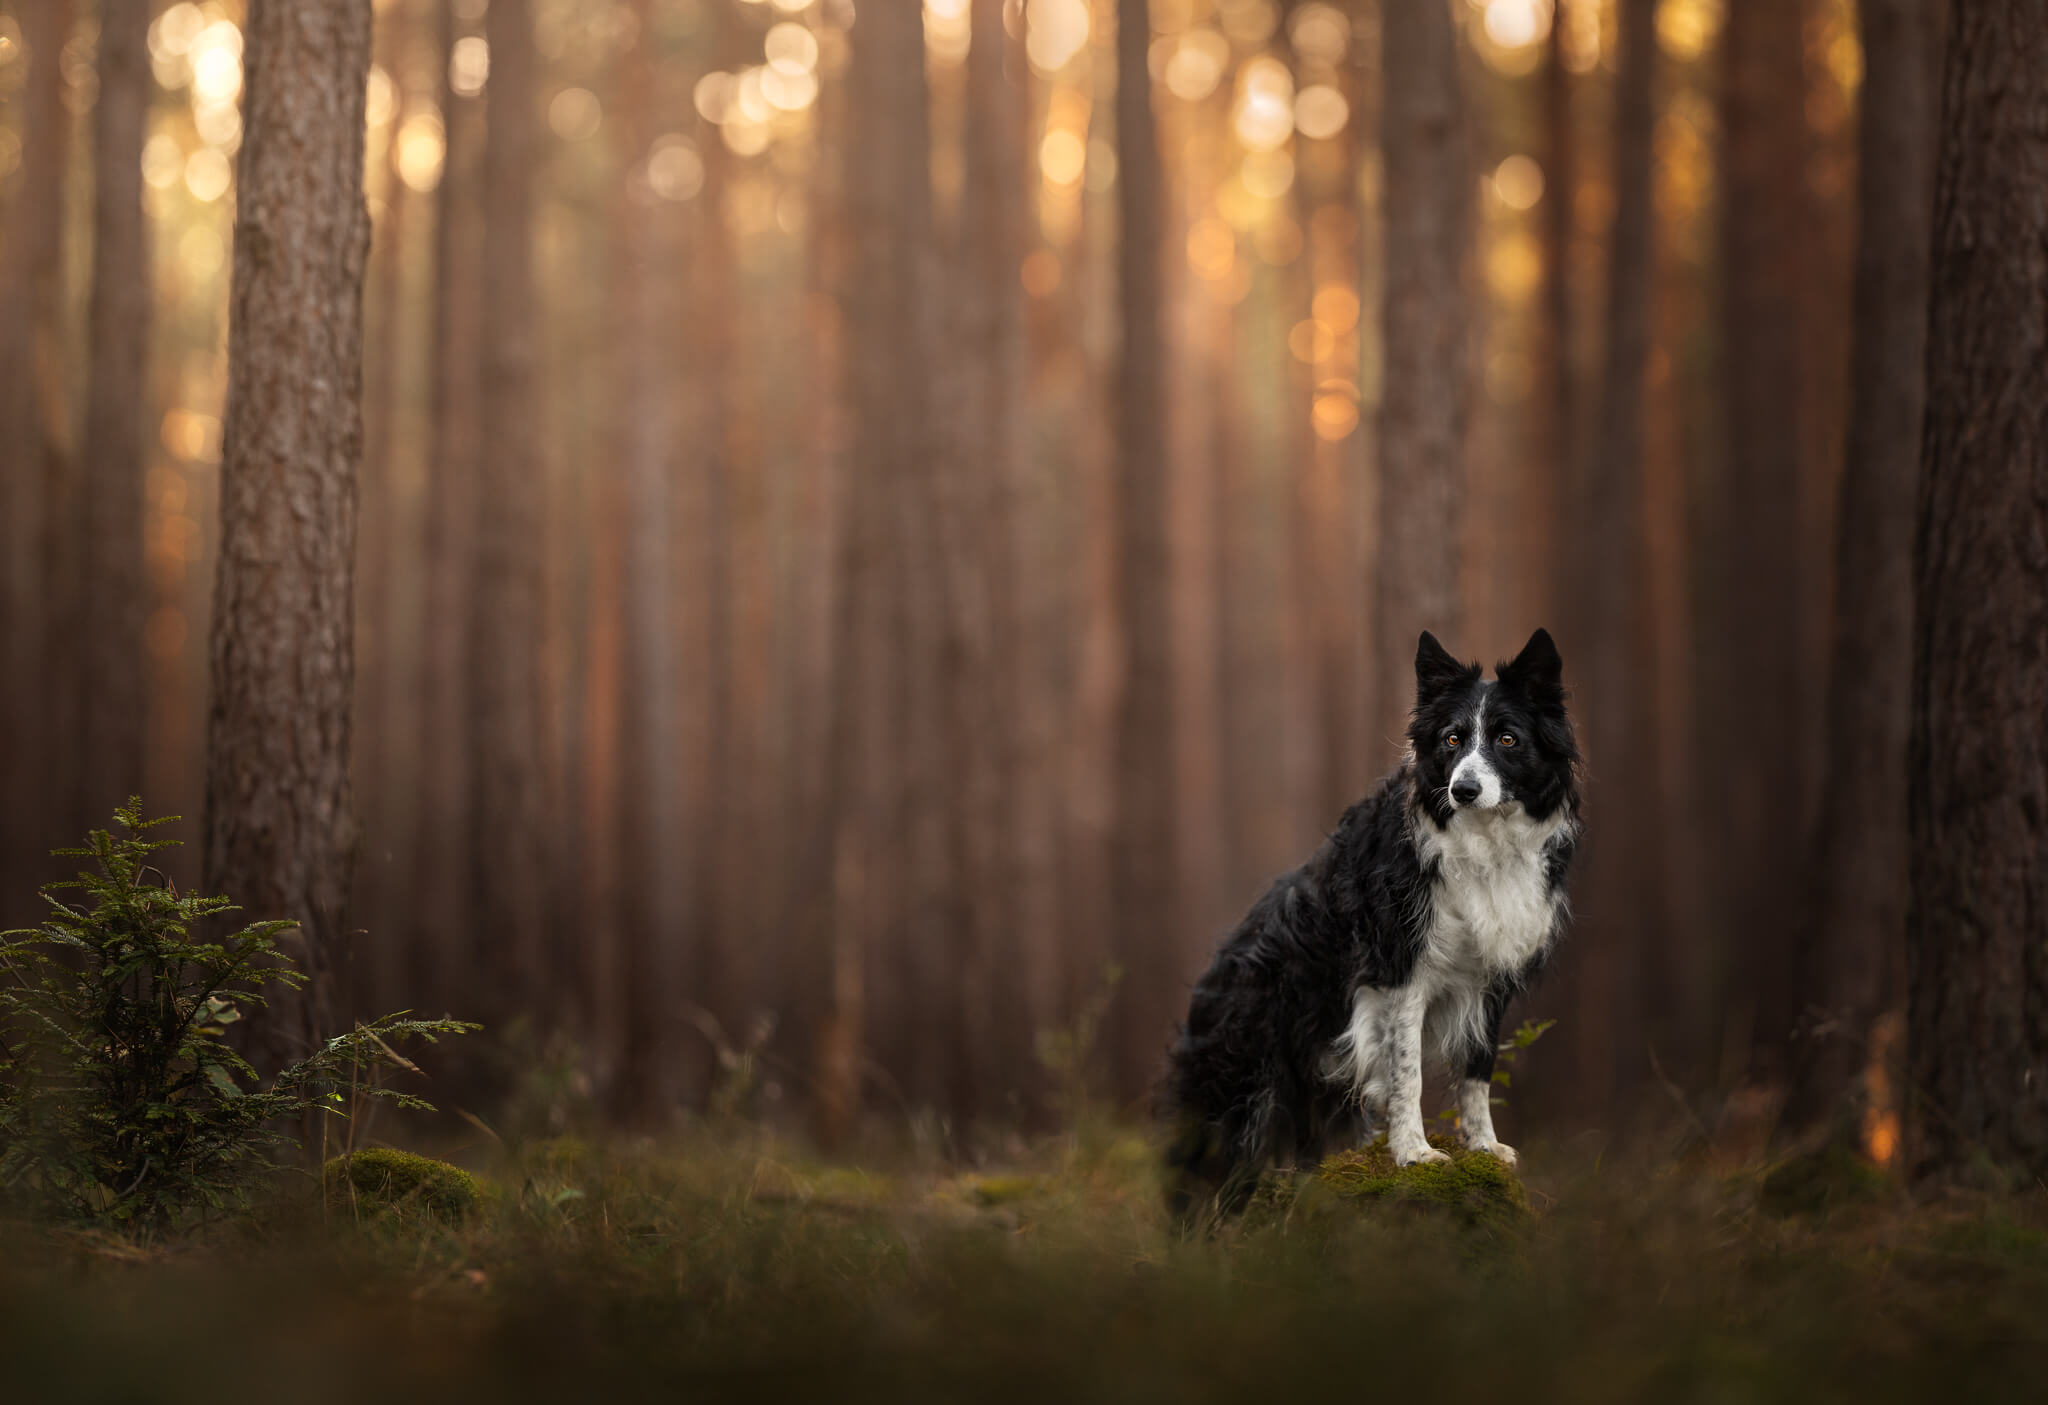
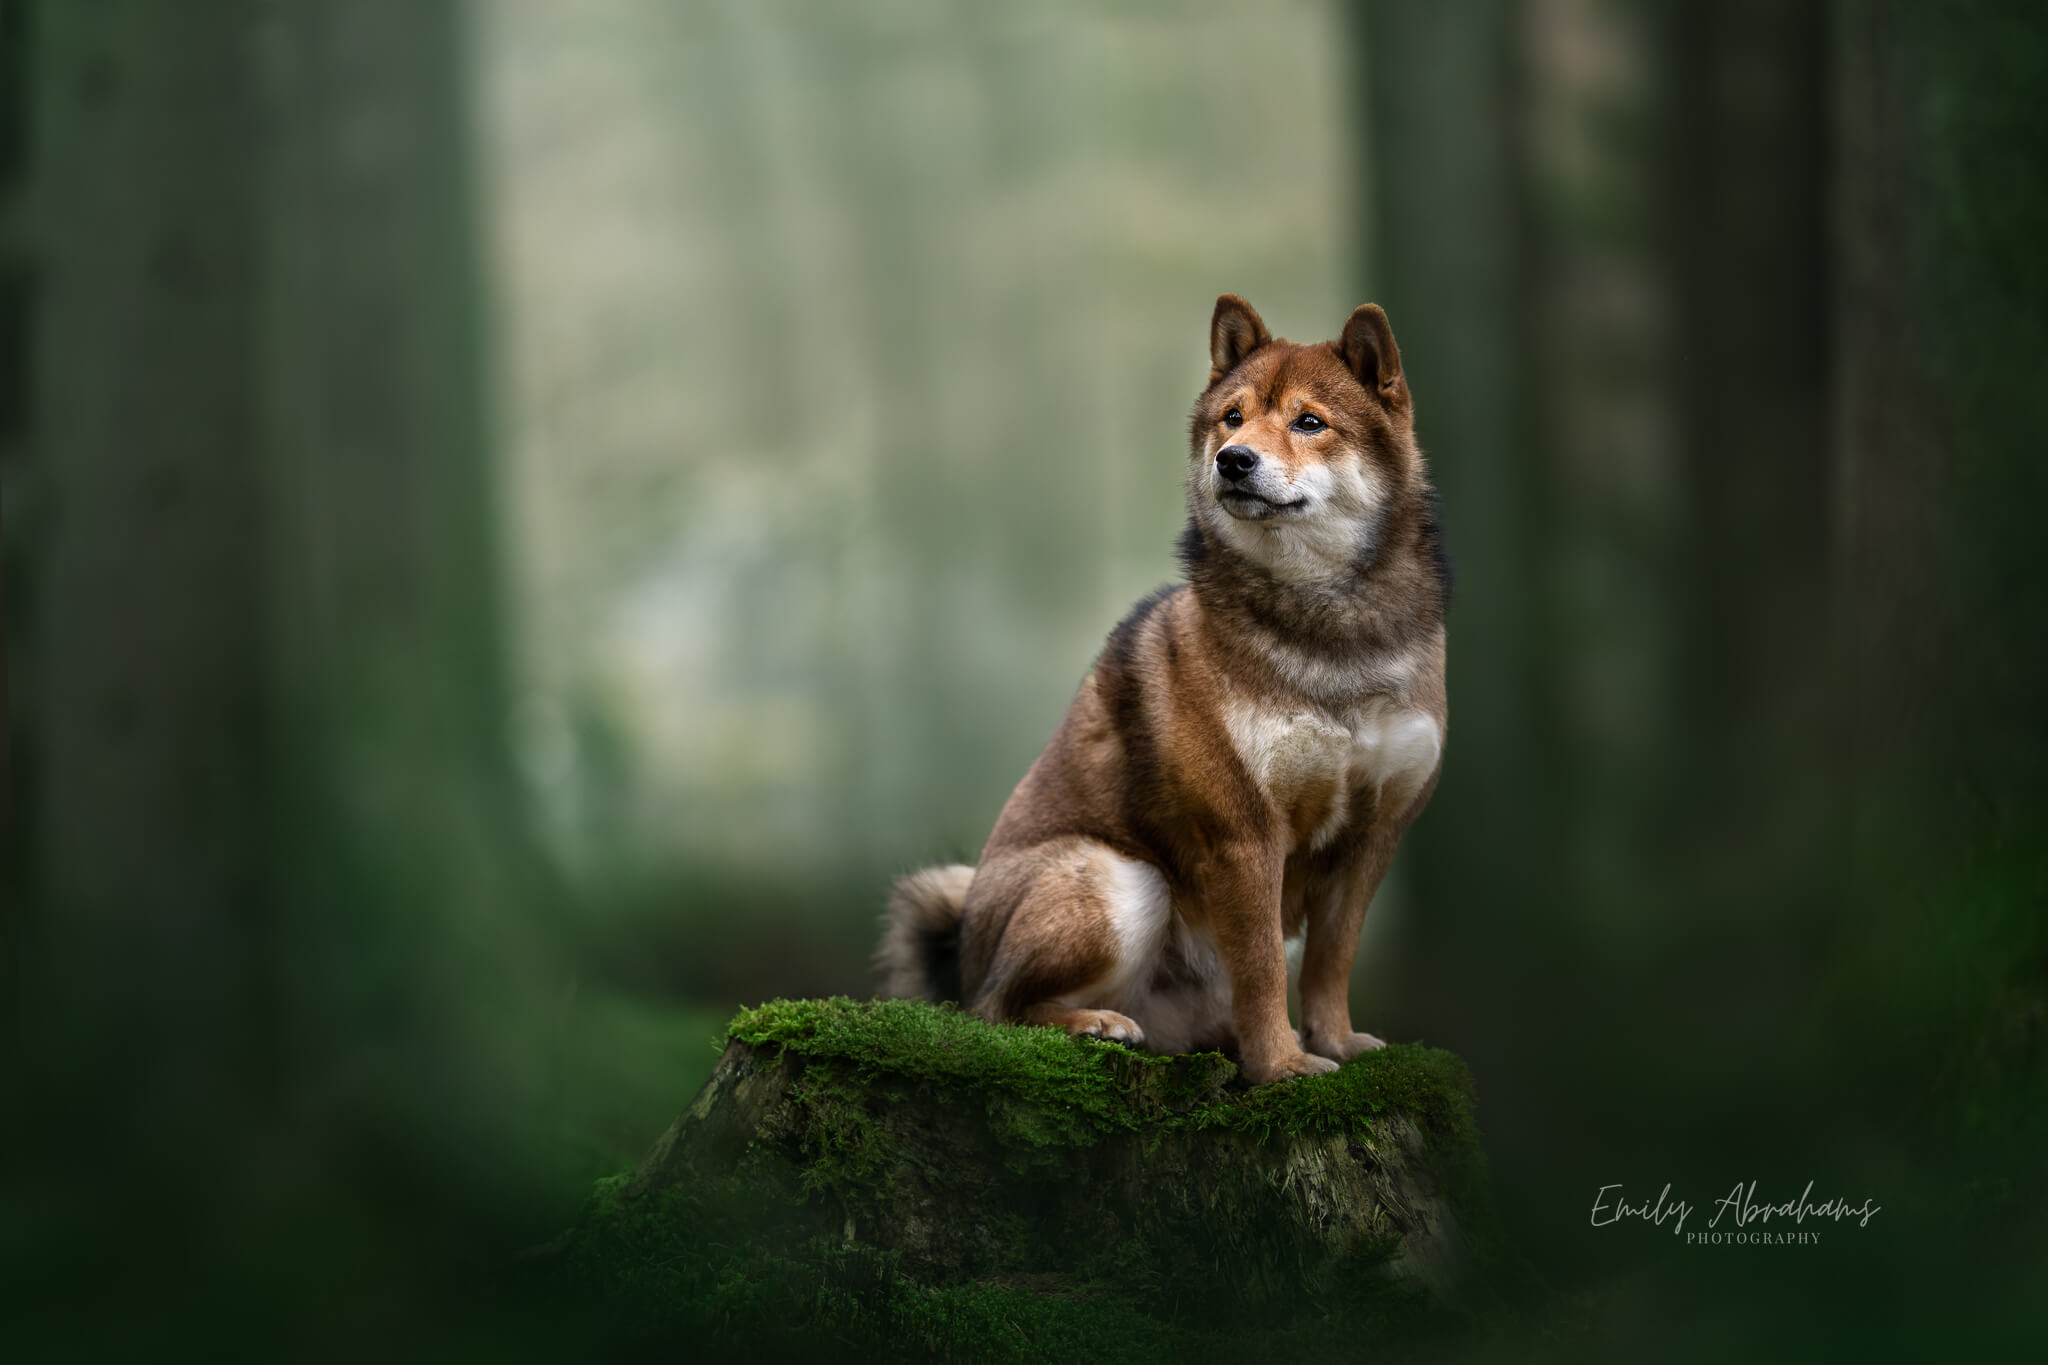
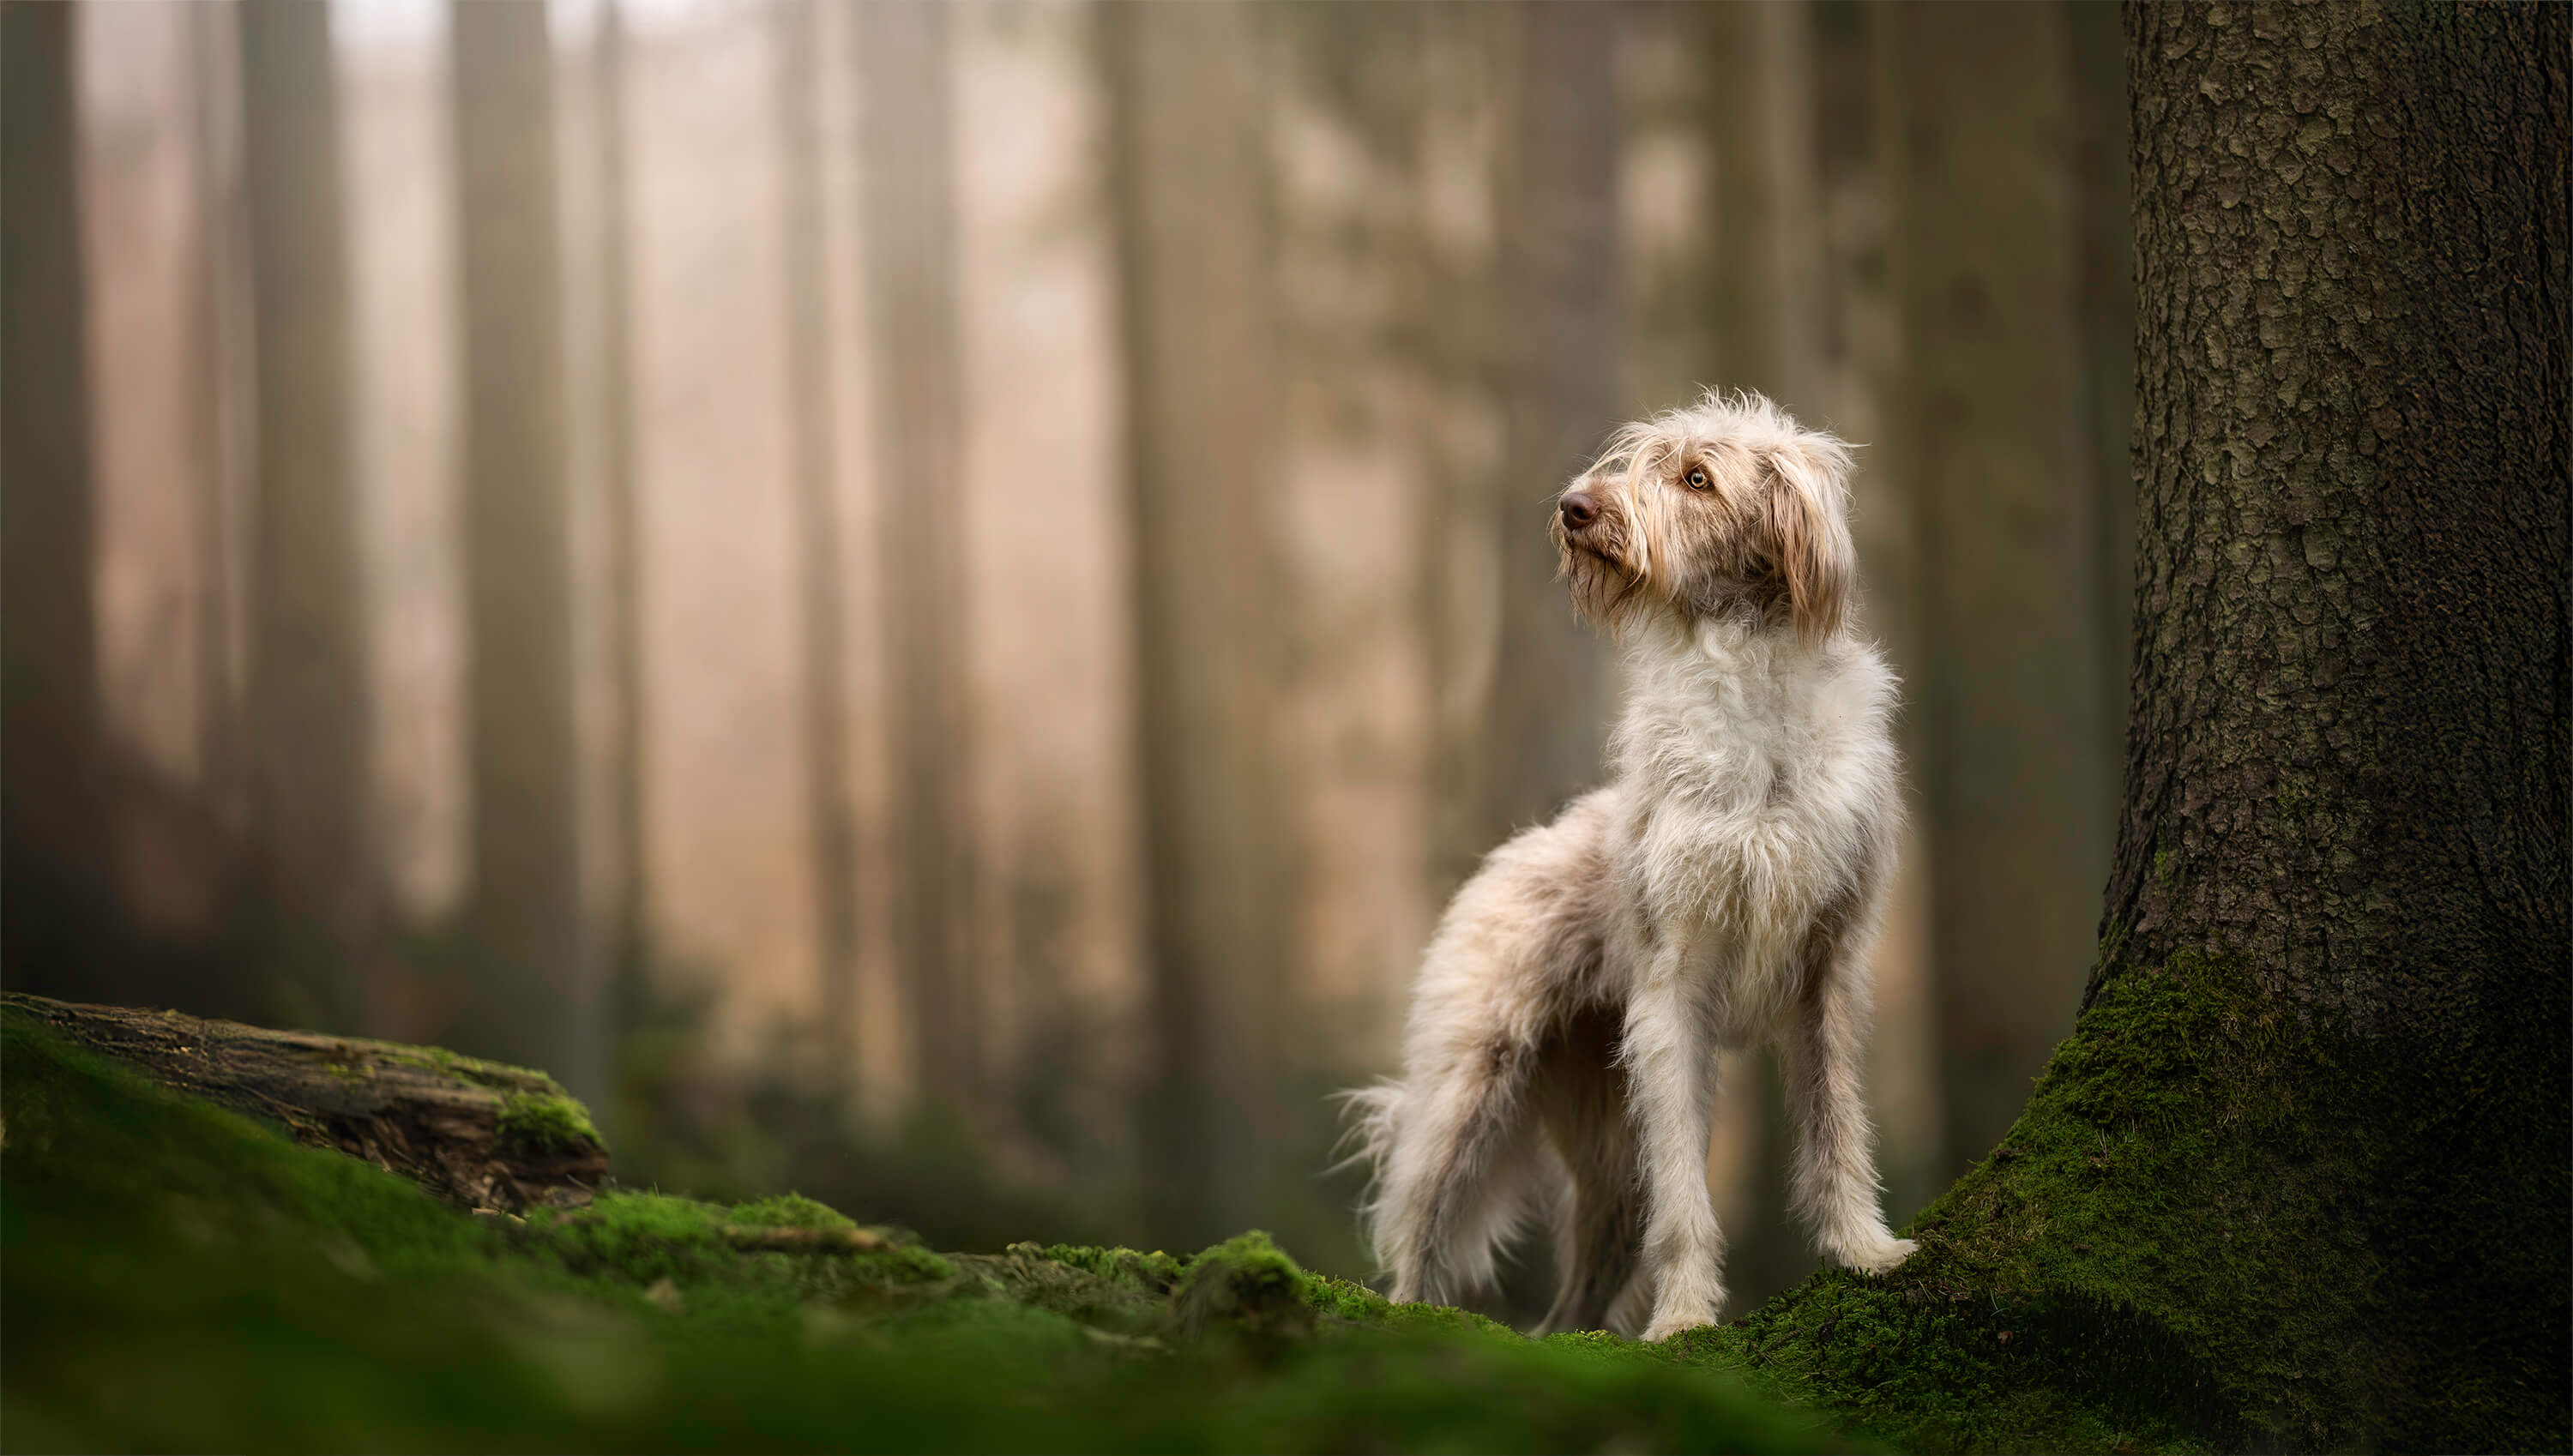
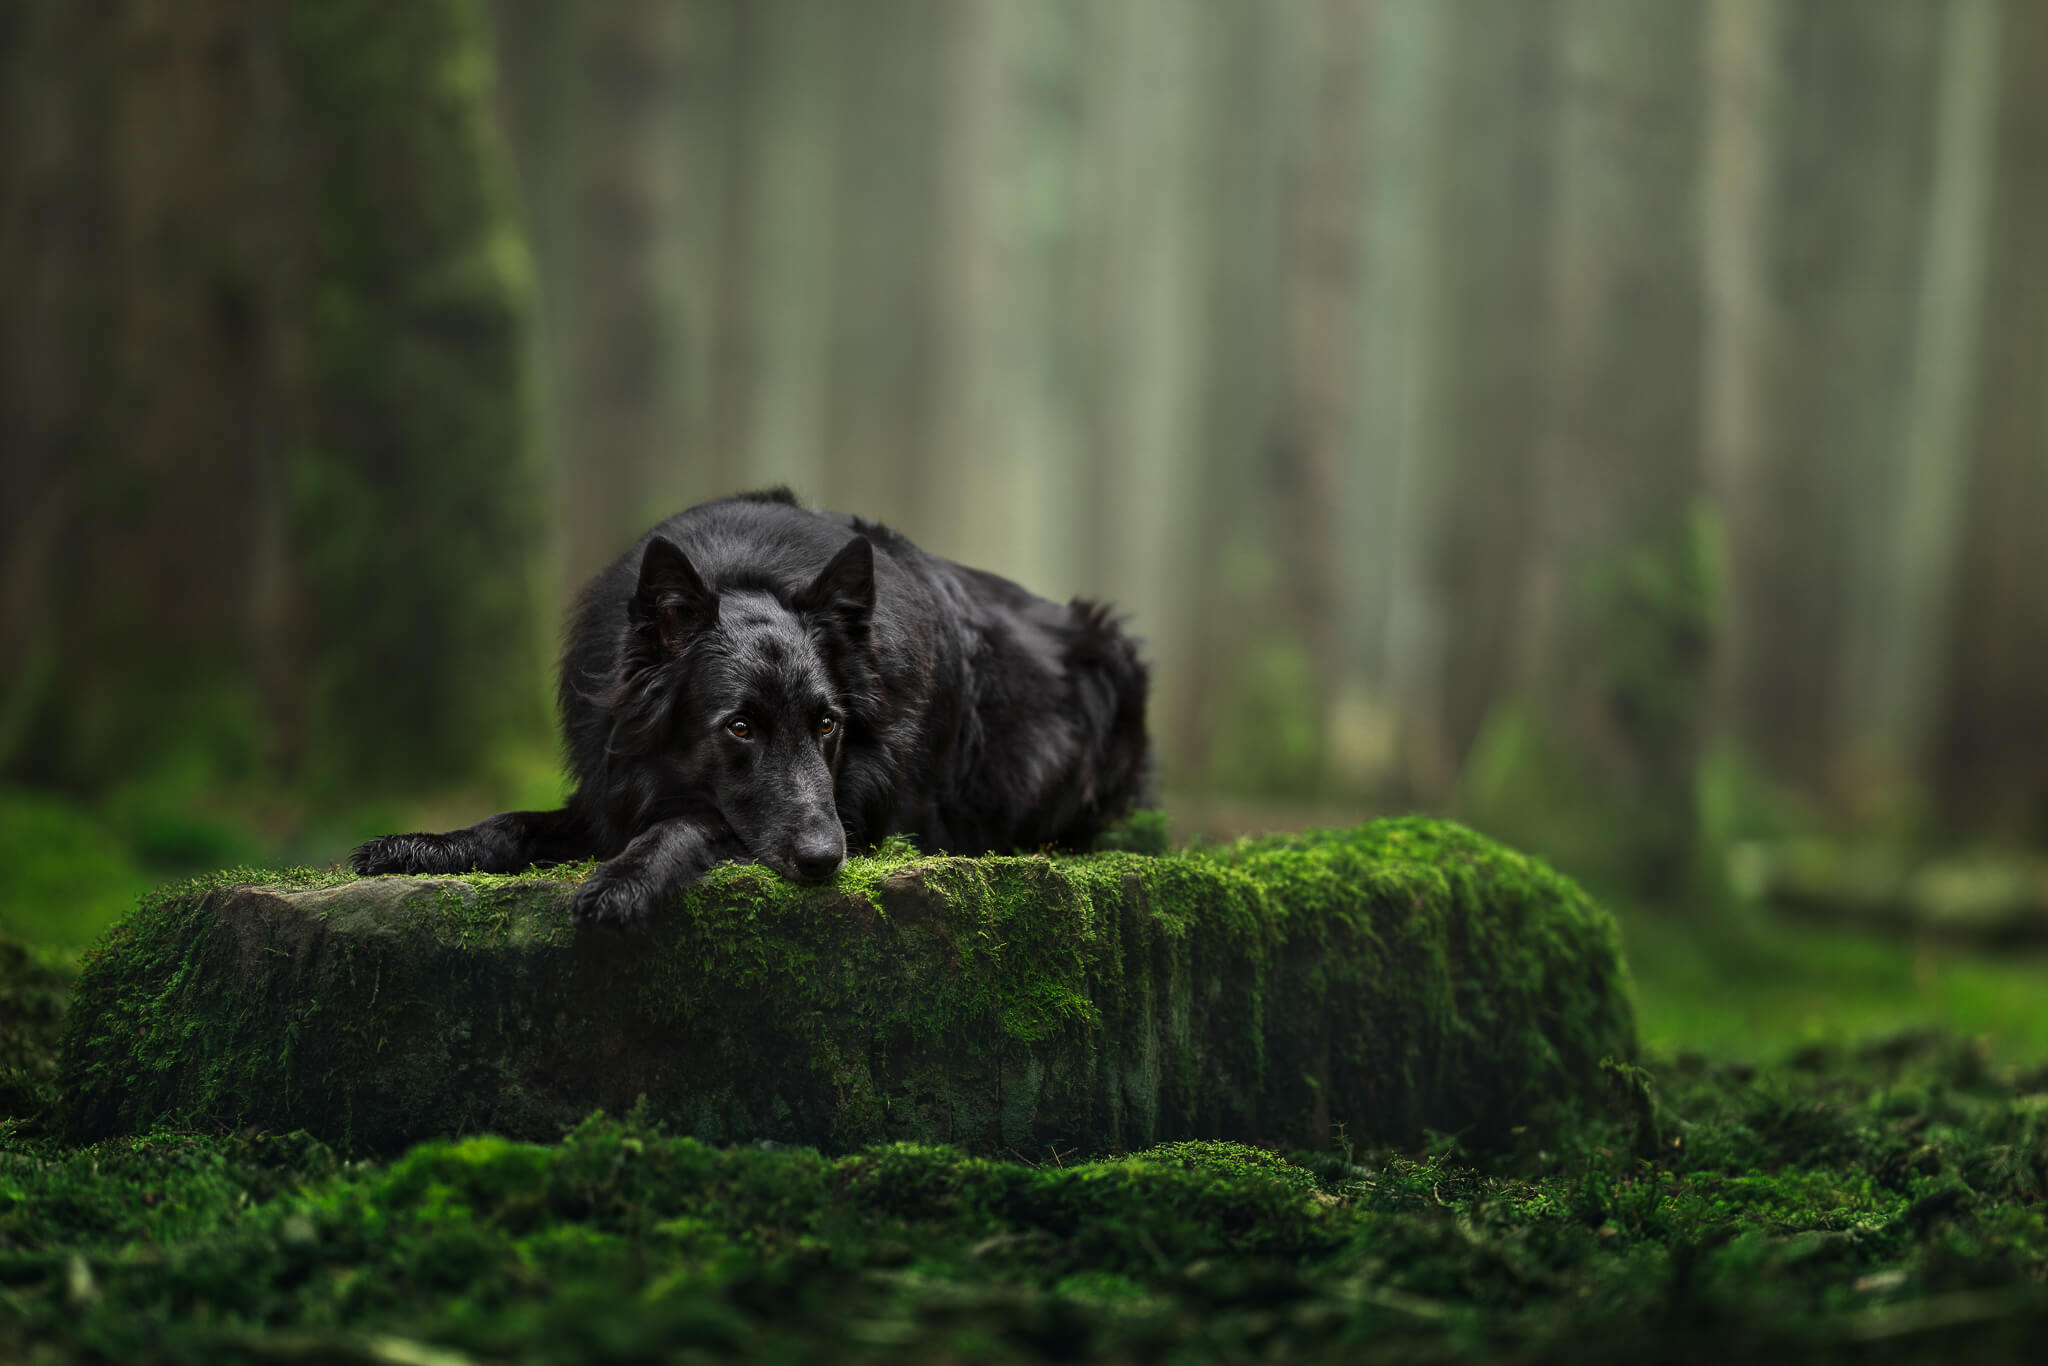
If your dog is looking to the side: they need somewhere to look. When a dog is gazing off to the left and there’s barely any frame in that direction (eg., the dog is centered, or the photo is portrait orientation), the whole image feels cramped and uncomfortable… even if you can’t explain why. As a rough guide, roughly a third to a half of the frame empty in the direction they’re looking tends to feel balanced. But honestly, just ask yourself: does my dog have somewhere to look? If the answer is no, move yourself or reframe the photo until they do.
If your dog is getting chopped: legs, ears, tail, wrists… cutting through these accidentally makes a photo look unfinished. In almost every case, zooming out slightly and giving a little breathing room around the edges of your dog looks significantly more intentional and professional. You don’t need to fit the whole dog in necessarily – though dog photos work best in most cases if it’s full body or head and shoulders. But if you’re going to crop through something, make it a deliberate decision rather than an accident.
One thing to try:
Before you take the shot, do a quick scan around the edges of your frame. Where is your dog looking? Do they have space? Are you accidentally clipping anything?
It takes two seconds and makes a real difference.
⬆️ Some examples of “what not to do”. Can you spot why?
Ready to fix this properly?
Most people think they need to learn “magical edits”. In reality, most people need better foundation skills.
Starting Point is the entry tier of The Learning Journey, my membership for pet photographers who want to take photos that actually feel how they imagined them.
It’s not a quick fix or a beginner’s sampler. It’s a curated library of foundation lessons covering the things that make the biggest difference to your photos… in the order that makes sense to learn them.
50 lessons. Around 30 to 40 hours of video content. All the things I wish someone had told me at the beginning.
What's Included in Starting Point?
📸 Capture the Moment
- The Beginning Stage lesson library including the 4 core courses with around 50 lessons and 30 to 40 hours of content:
- Mastering the Foundations
- Light
- Camera Settings
- Beginning Editing.
- Starting Strong: A 5-week guided beginning for new members, so you know exactly where to start and what to focus on first. Recordings included and available!
- Selected event replays: Access to replays of events where the content is relevant and useful for where you are.
💡 Learn, Grow & Connect
- The Inspawration community: The same community as Complete Access members. One space, no hierarchy, genuine peer feedback and connection.
- Monthly challenges: Structured prompts to get you shooting with intention, not just waiting for the perfect moment.
- Edit and Chill sessions: Watch me edit in real time. No performing, no perfection. Just the actual process.
- Critique video access: Watch monthly critique sessions and learn from the feedback given to other members’ work.
All for only €14 per month!
No contracts, no minimum term.
Or… find out more!
