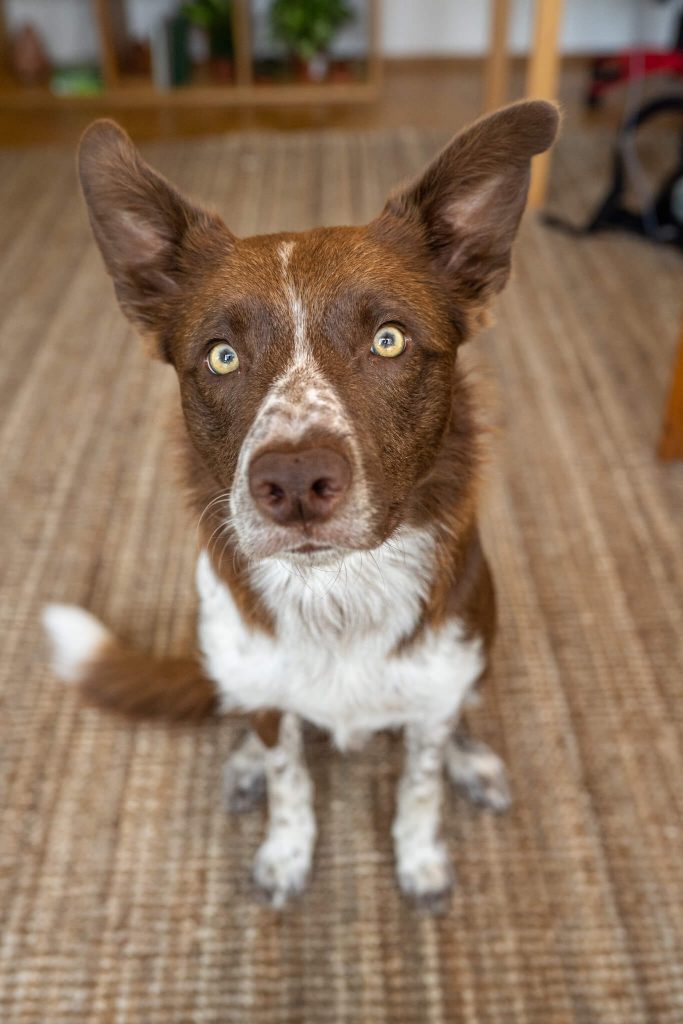
I will admit, up front, that indoor photos do not form a large part of my photography. They’re not my style, and I would rather be out in the woods.
That being said, for those of you with cats, or who might want to get into commercial work (which is when I do my indoor photos) this lesson might be interesting for you. Just keep in mind I am definitely no studio lighting expert.
Lighting types
Indoors, you have a few options
- window light
- constant light
- flash/strobes
Since I don’t even own a flash, we’re going to leave that for another day.
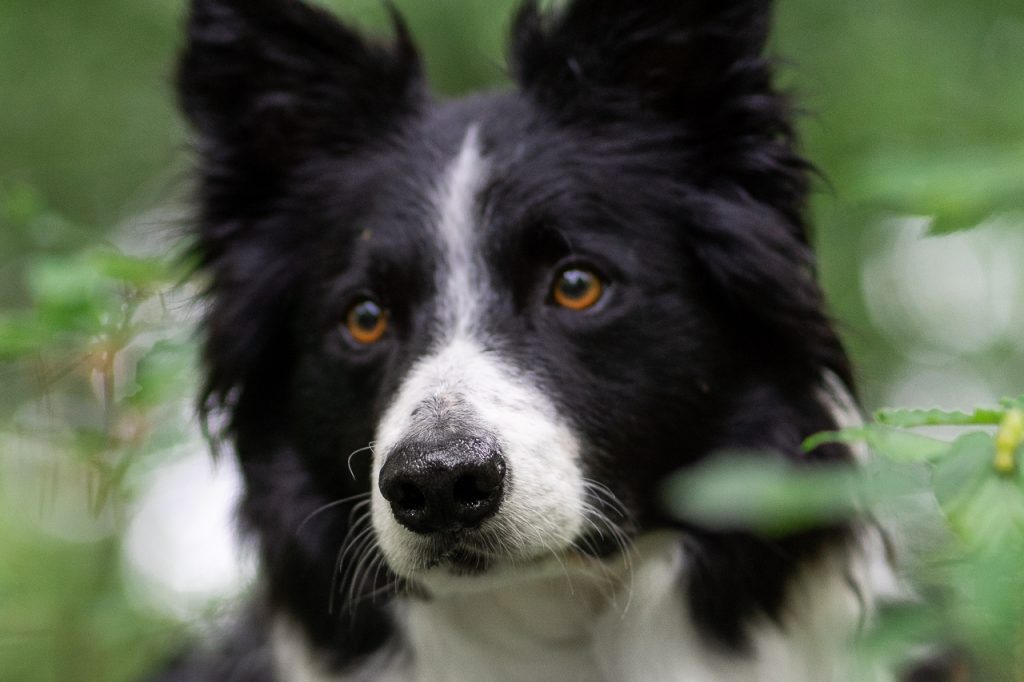
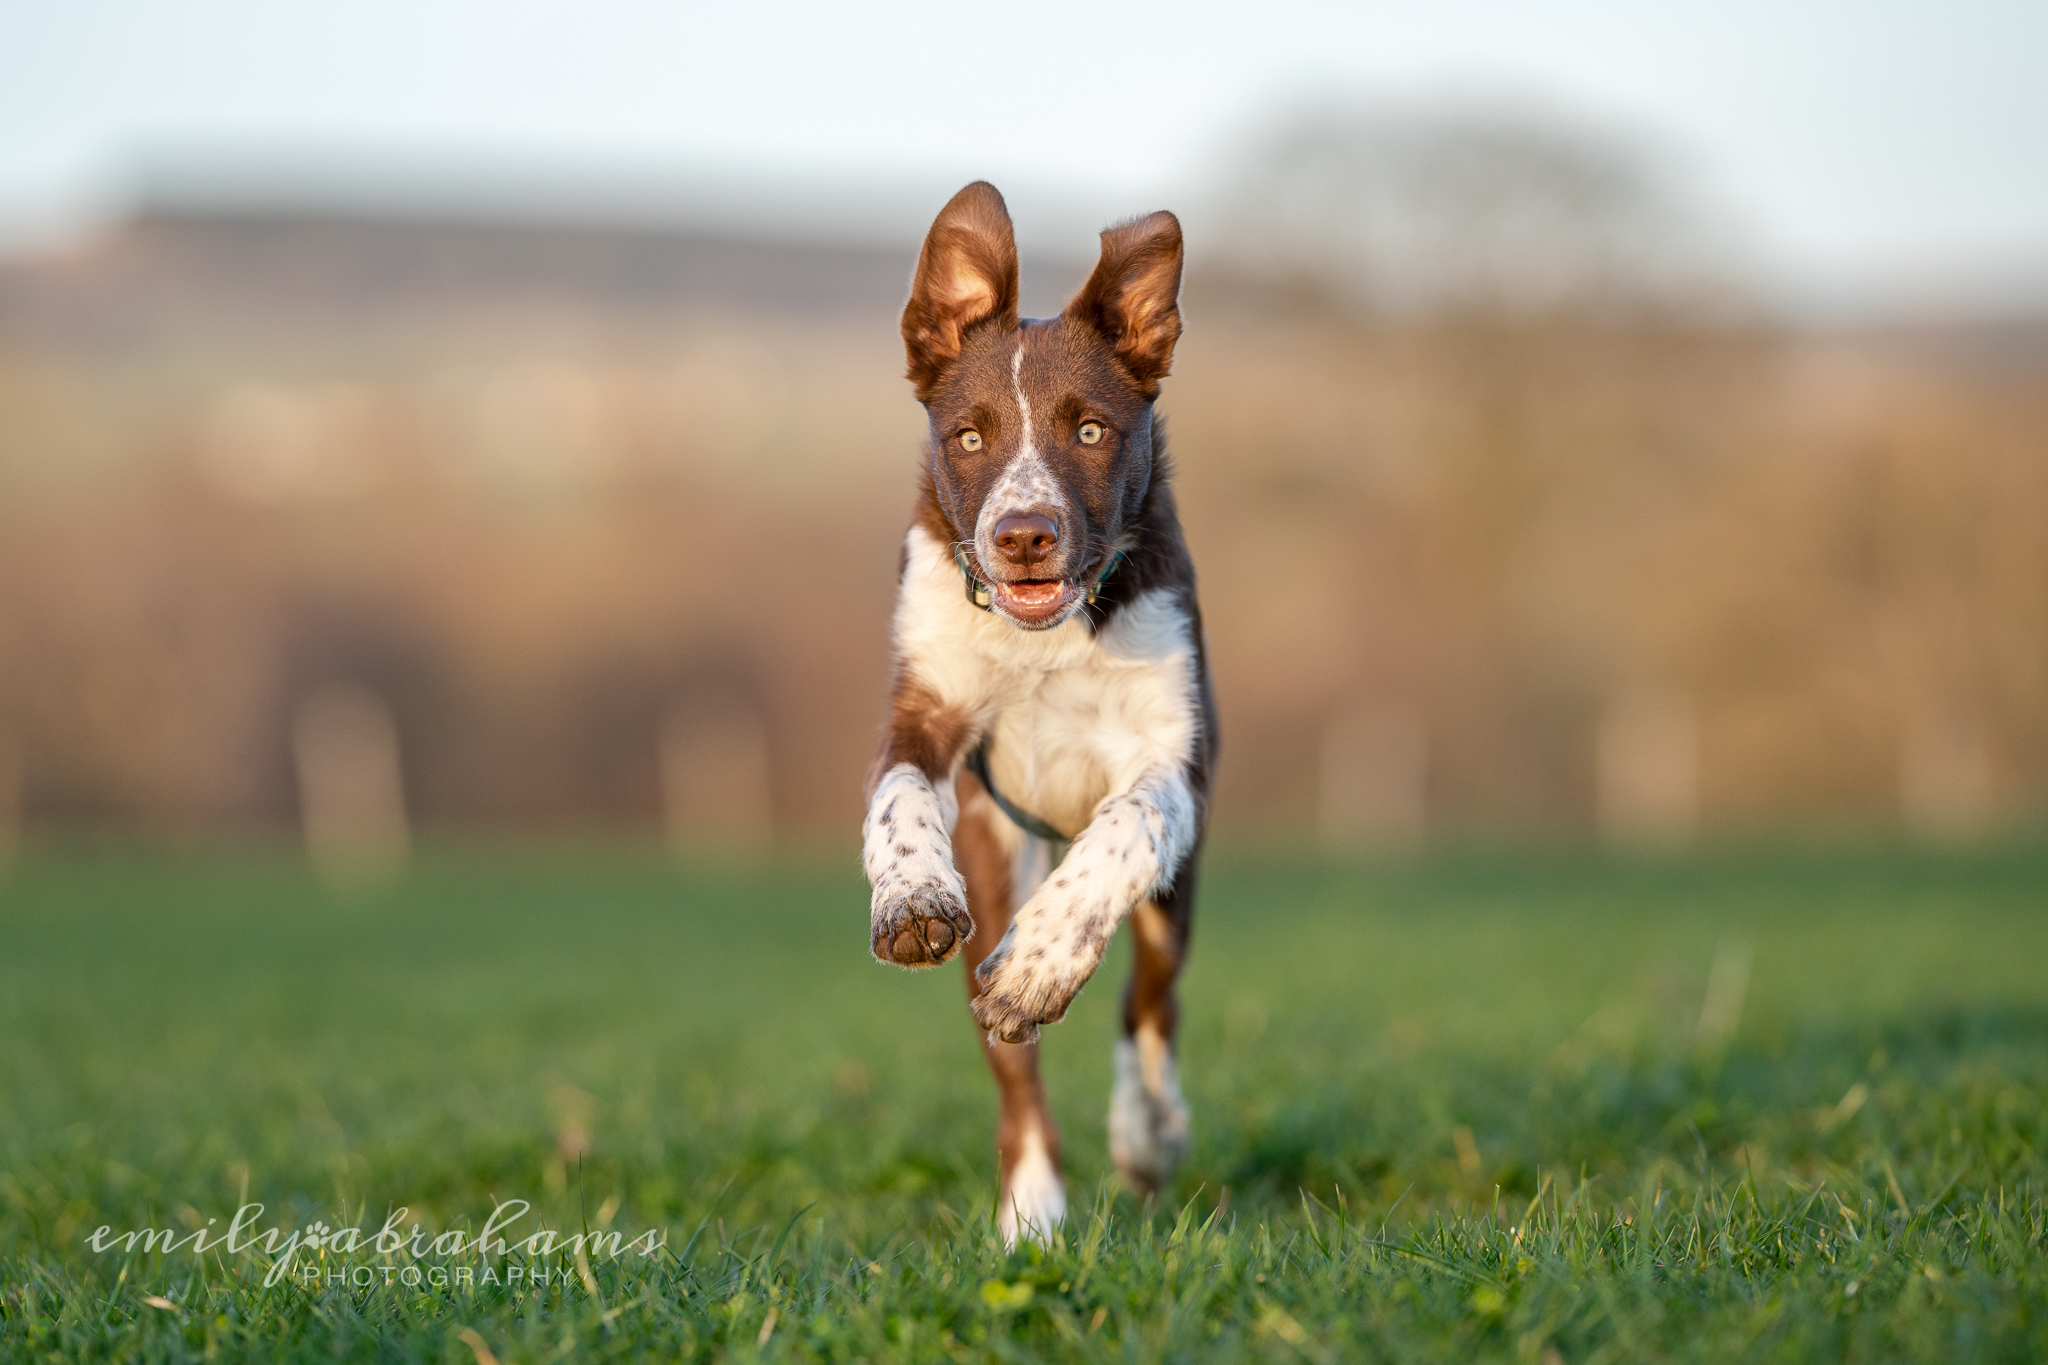
The photo to the left was taken with Journey facing a really large floor set of windows.
Window light
Inside, most of your light is going to either come from lights on the ceiling, or windows. Windows could also be sliding doors or skylights.
Because of the nature of a window (being a square or rectangular space to allow light in), the light can be very directional.
Consider if you had a window on one side of your pet’s face, and a wall on the other side. There would be a HUGE contrast between the light side and dark side, unless the wall was bright and reflecting a lot of that light.
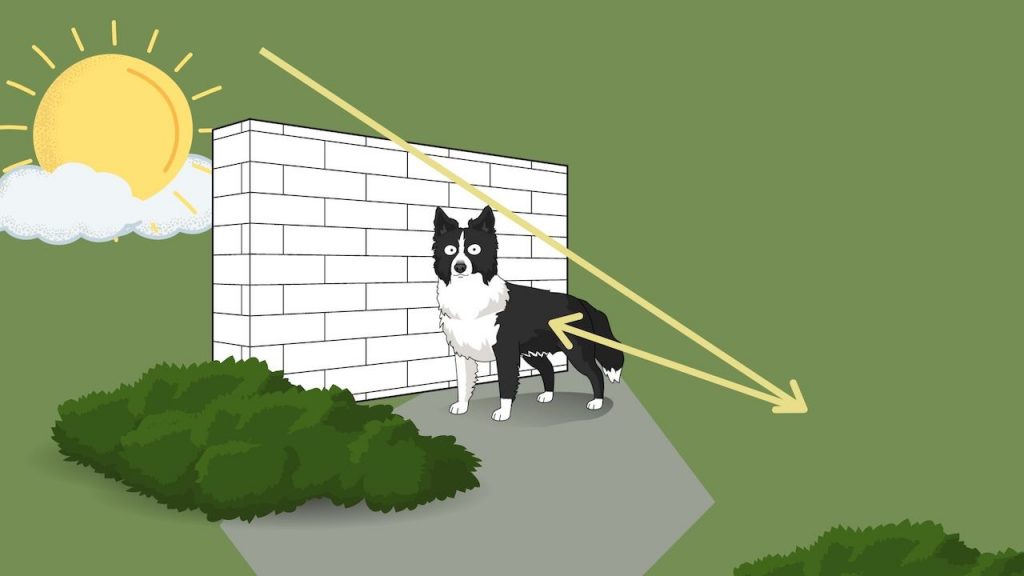
The sun can also shine in through the window, leading us to experience many of the issues faced in the “full sun” lesson, or even the “patchy shade” lesson, since it could be shining in a sharp beam somewhere on, or near the subject. If you really have no option but to shoot while the sun is coming in through the window, try using a diffuser or even a sheer curtain or white sheet hung in the window, to soften the light.
Because larger light sources make the light softer (the reason why an overcast sky will provide softer light than the sun, for example), having the pet quite close to the window itself should make the light softer.
Then, you want to consider light direction. Facing them into the light/window will mean they get that light evenly on their face, as well as nice bright catchlights in their eyes.
If you are in any typical European or UK house, you may not have an abundance of window light!
Unfortunately, without an external light source, there’s really no way around this.
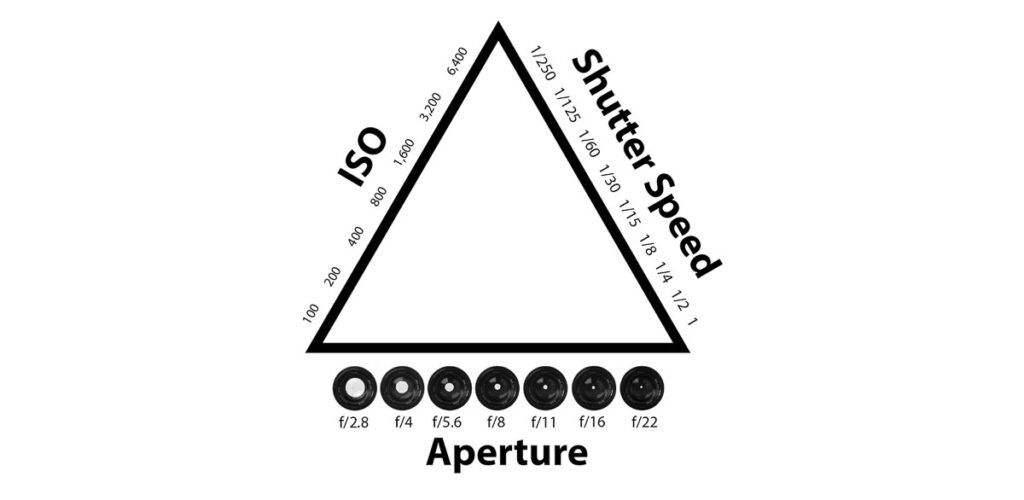
In terms of camera settings, you need to figure out what the slowest shutter speed you’re happy with is. For me, this tends to be no slower than 1/320 second, or I just notice too much blur.
You probably want your aperture wide open, unless you’re doing a product shoot where you need to show the full product or label.
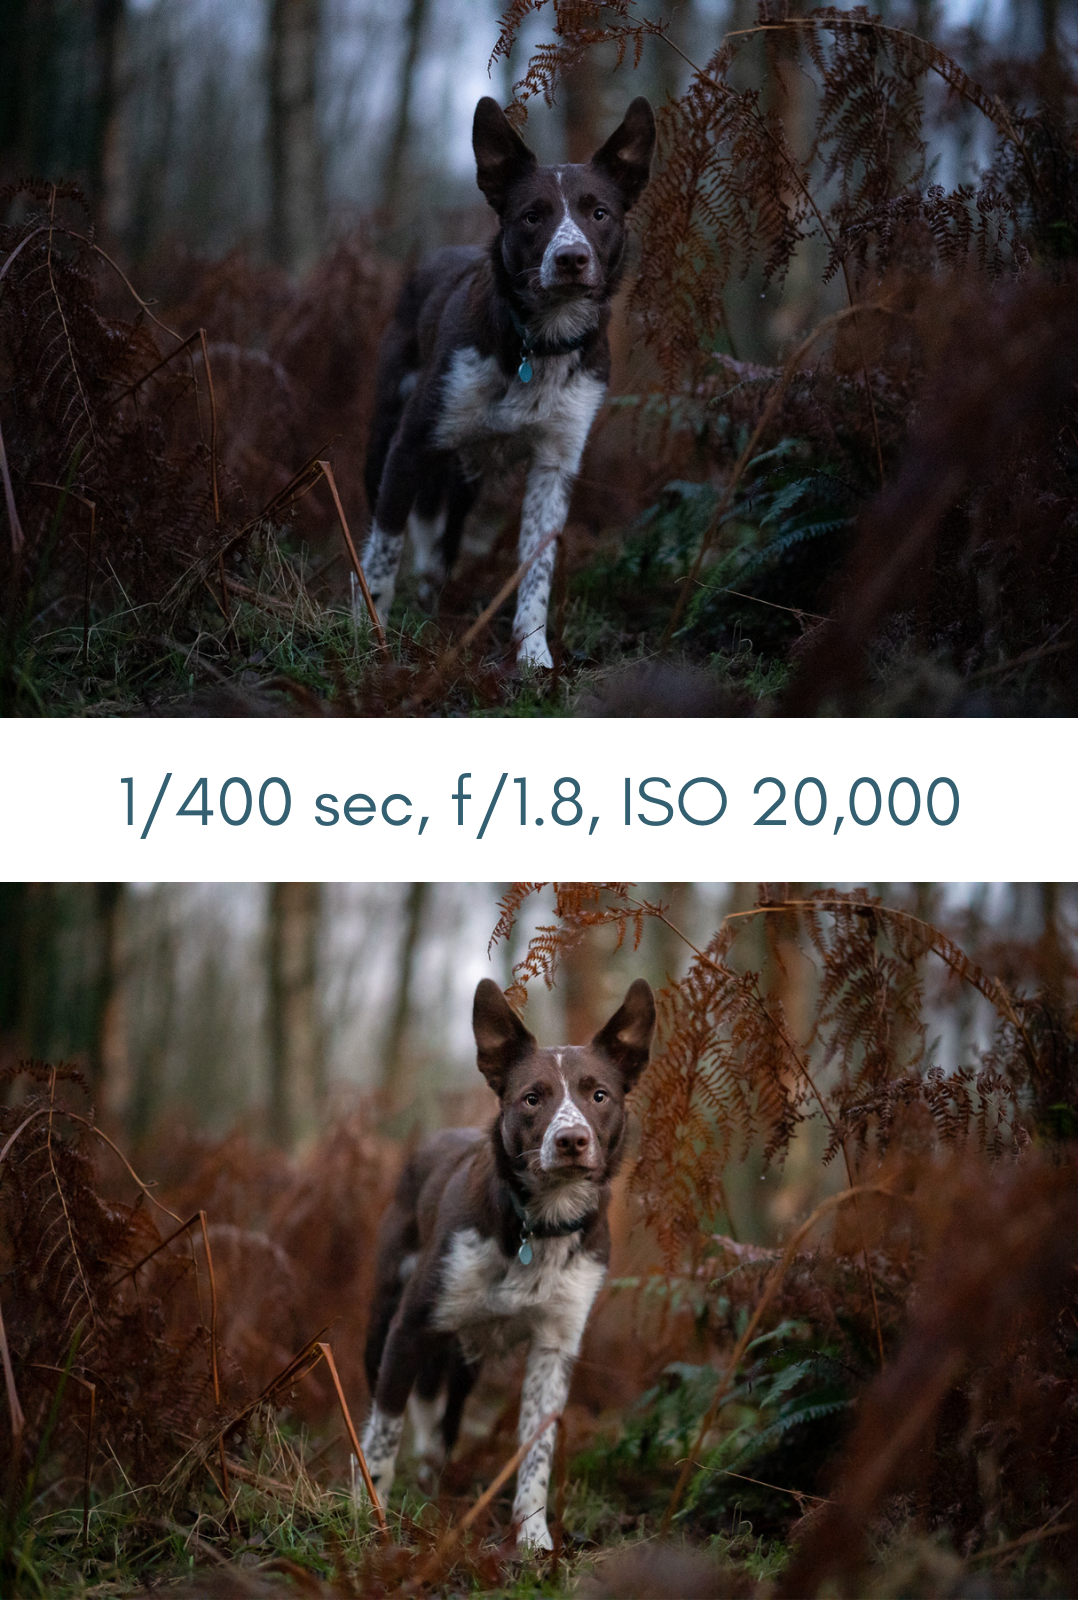
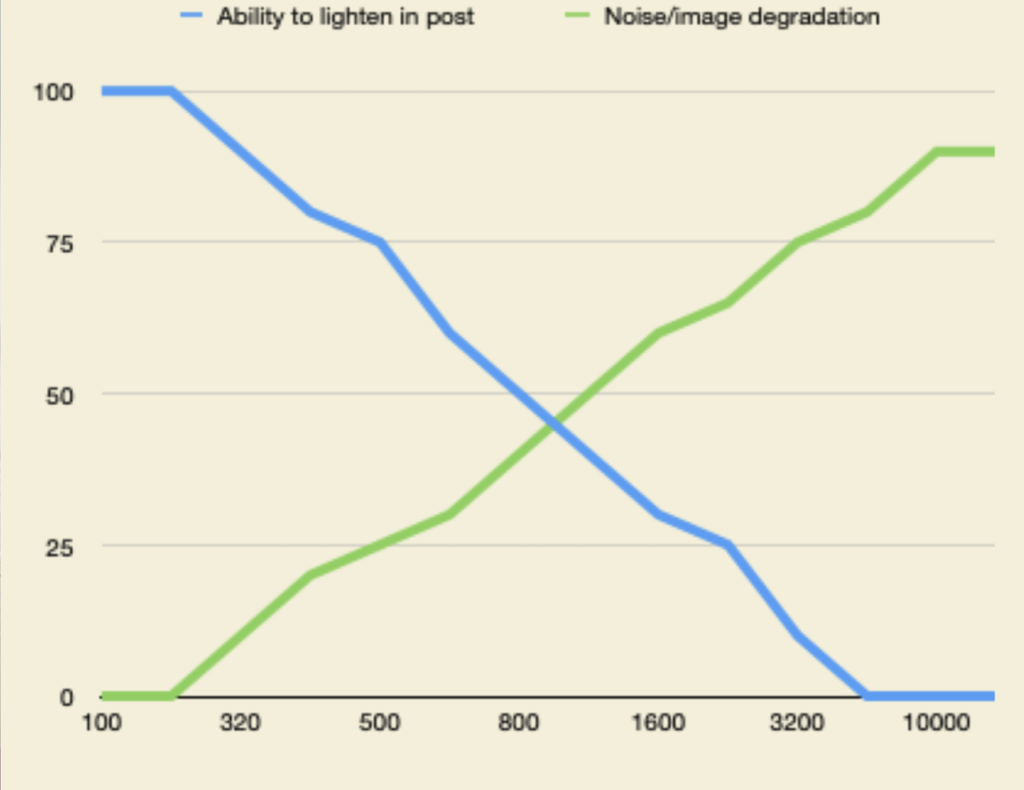
Your ISO is likely to be very high if you’re relying solely on window light. There’s no secrets to get around this.
Continuous Light
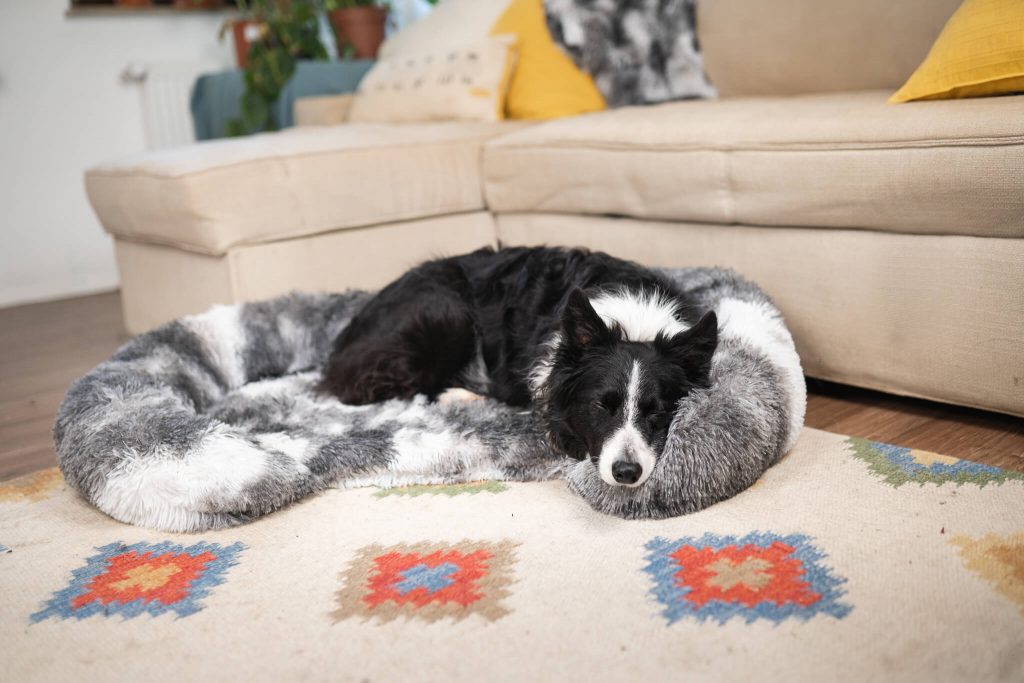
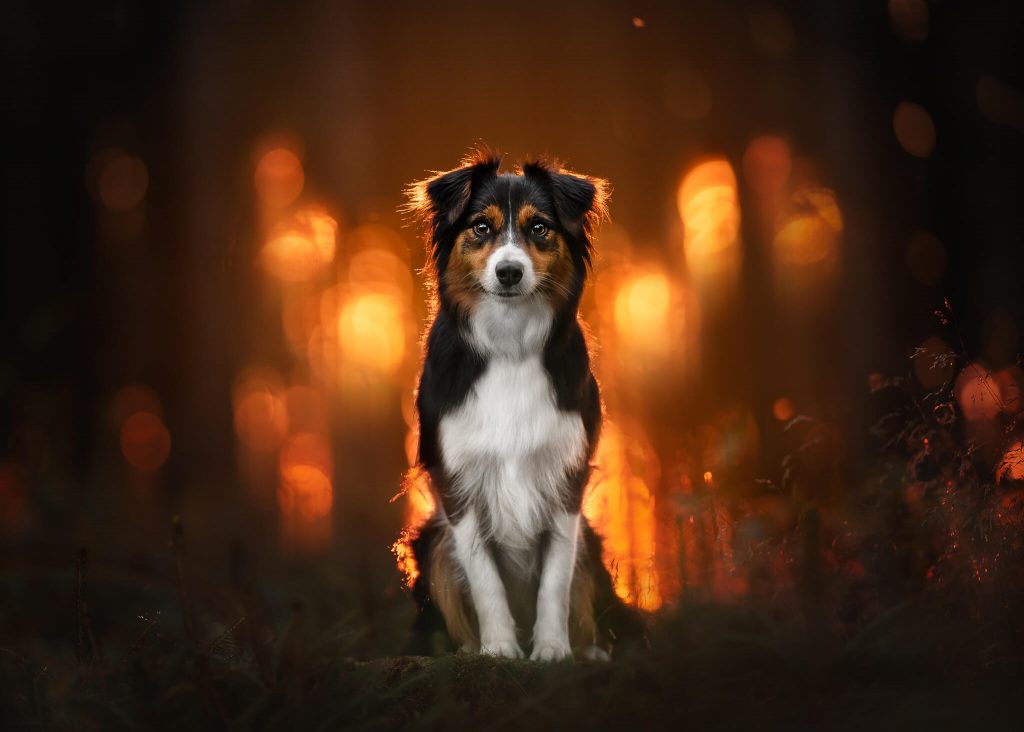
A photo taken recently for a dog bed company using my two continuous lights
Another option is continuous light.
Without a specialised light set up (which could just be a set of two studio lights with soft boxes from Amazon), this is probably going to mean turning on all the lights in your house.
Unfortunately, this might not have the best result.
With all these lights can come crazy and unexpected areas of contrasts, shadows and highlights, that make editing annoying and complicated.
Different globes can throw different colour casts, and colour casts can also be thrown from walls, soft furnishings, and other coloured objects in your house.
Of course, this might be the only option if you’re taking a quick snap of your sleeping pet, but if you’re wanting to consistently take photos of your indoor cat, I would recommend investing in a simple 2-light set up.
These usually come with soft boxes, and you honestly don’t need to spend a fortune to get decently bright light with different colour and intensity settings.
By being able to select the light temperature, and turning off other lights in the vicinity, you can reduce or eliminate colour casts, which will make editing a lot faster and easier.
So that your photos don’t look flat and one dimensional, you probably don’t want to have the light shining directly onto the subject, but having them staggered, or even having one at a slightly less intensity can create gentle, soft shadows and therefore provide a bit more depth to the photos.
Using my two continuous lights, even at night in my lounge with all other lights off, means I can be shooting at 1/320, f/2.5, ISO 640. Without the lights, the ISO would likely be ~ 2000.
It’s possible that if you have only a single window or lack of natural light from outside, that even a simple ring light would be better than nothing!
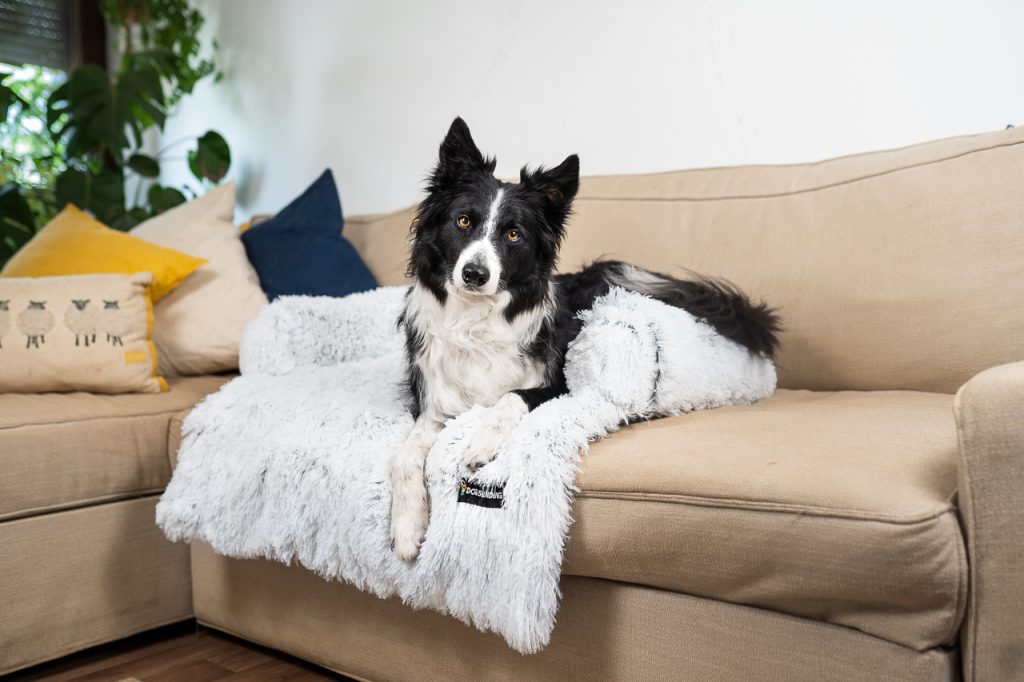
Taken in my lounge with my two lights. You can see there’s quite harsh shadows, but the soft boxes aren’t that big, and I need them at full strength to output enough light, so it ends up more harsh than I would like.
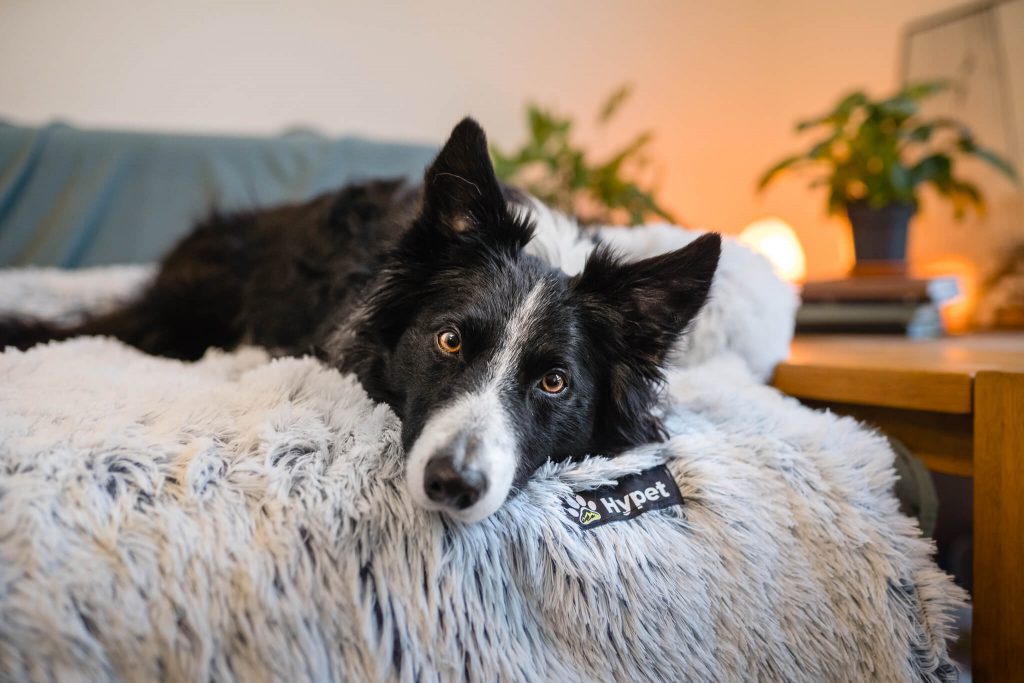
This photo was taken before my two-light set up, by turning on all the lights of the house, and trying to make use of the window camera right. I turned on the salt lamp in the background as an “ambient light” (you’ll notice they do this in movies all the time). But you can see how yellow everything is, there were colour casts everywhere and if you look at the quality of the photo it’s obvious the ISO was much higher (1250 vs 640)
Light fall-off
Keep in mind that depending on the room (size, number of windows, etc), the rest of the room could appear quite dark, as the light won’t reach all the way.
In this case, in order to balance your exposure, you may want to move the subject a bit further into the room….
Or, embrace the dark, and try making a classic “black background” portrait, often seen with horses in stables, where the horse is standing on the threshold of stable and out in the soft ambient light, so the background appears very dark compared to the lighter foreground area.

